Module 3 Formstorming

Weekly Activity Template

Yiyi Yan


Project 3


Module 3

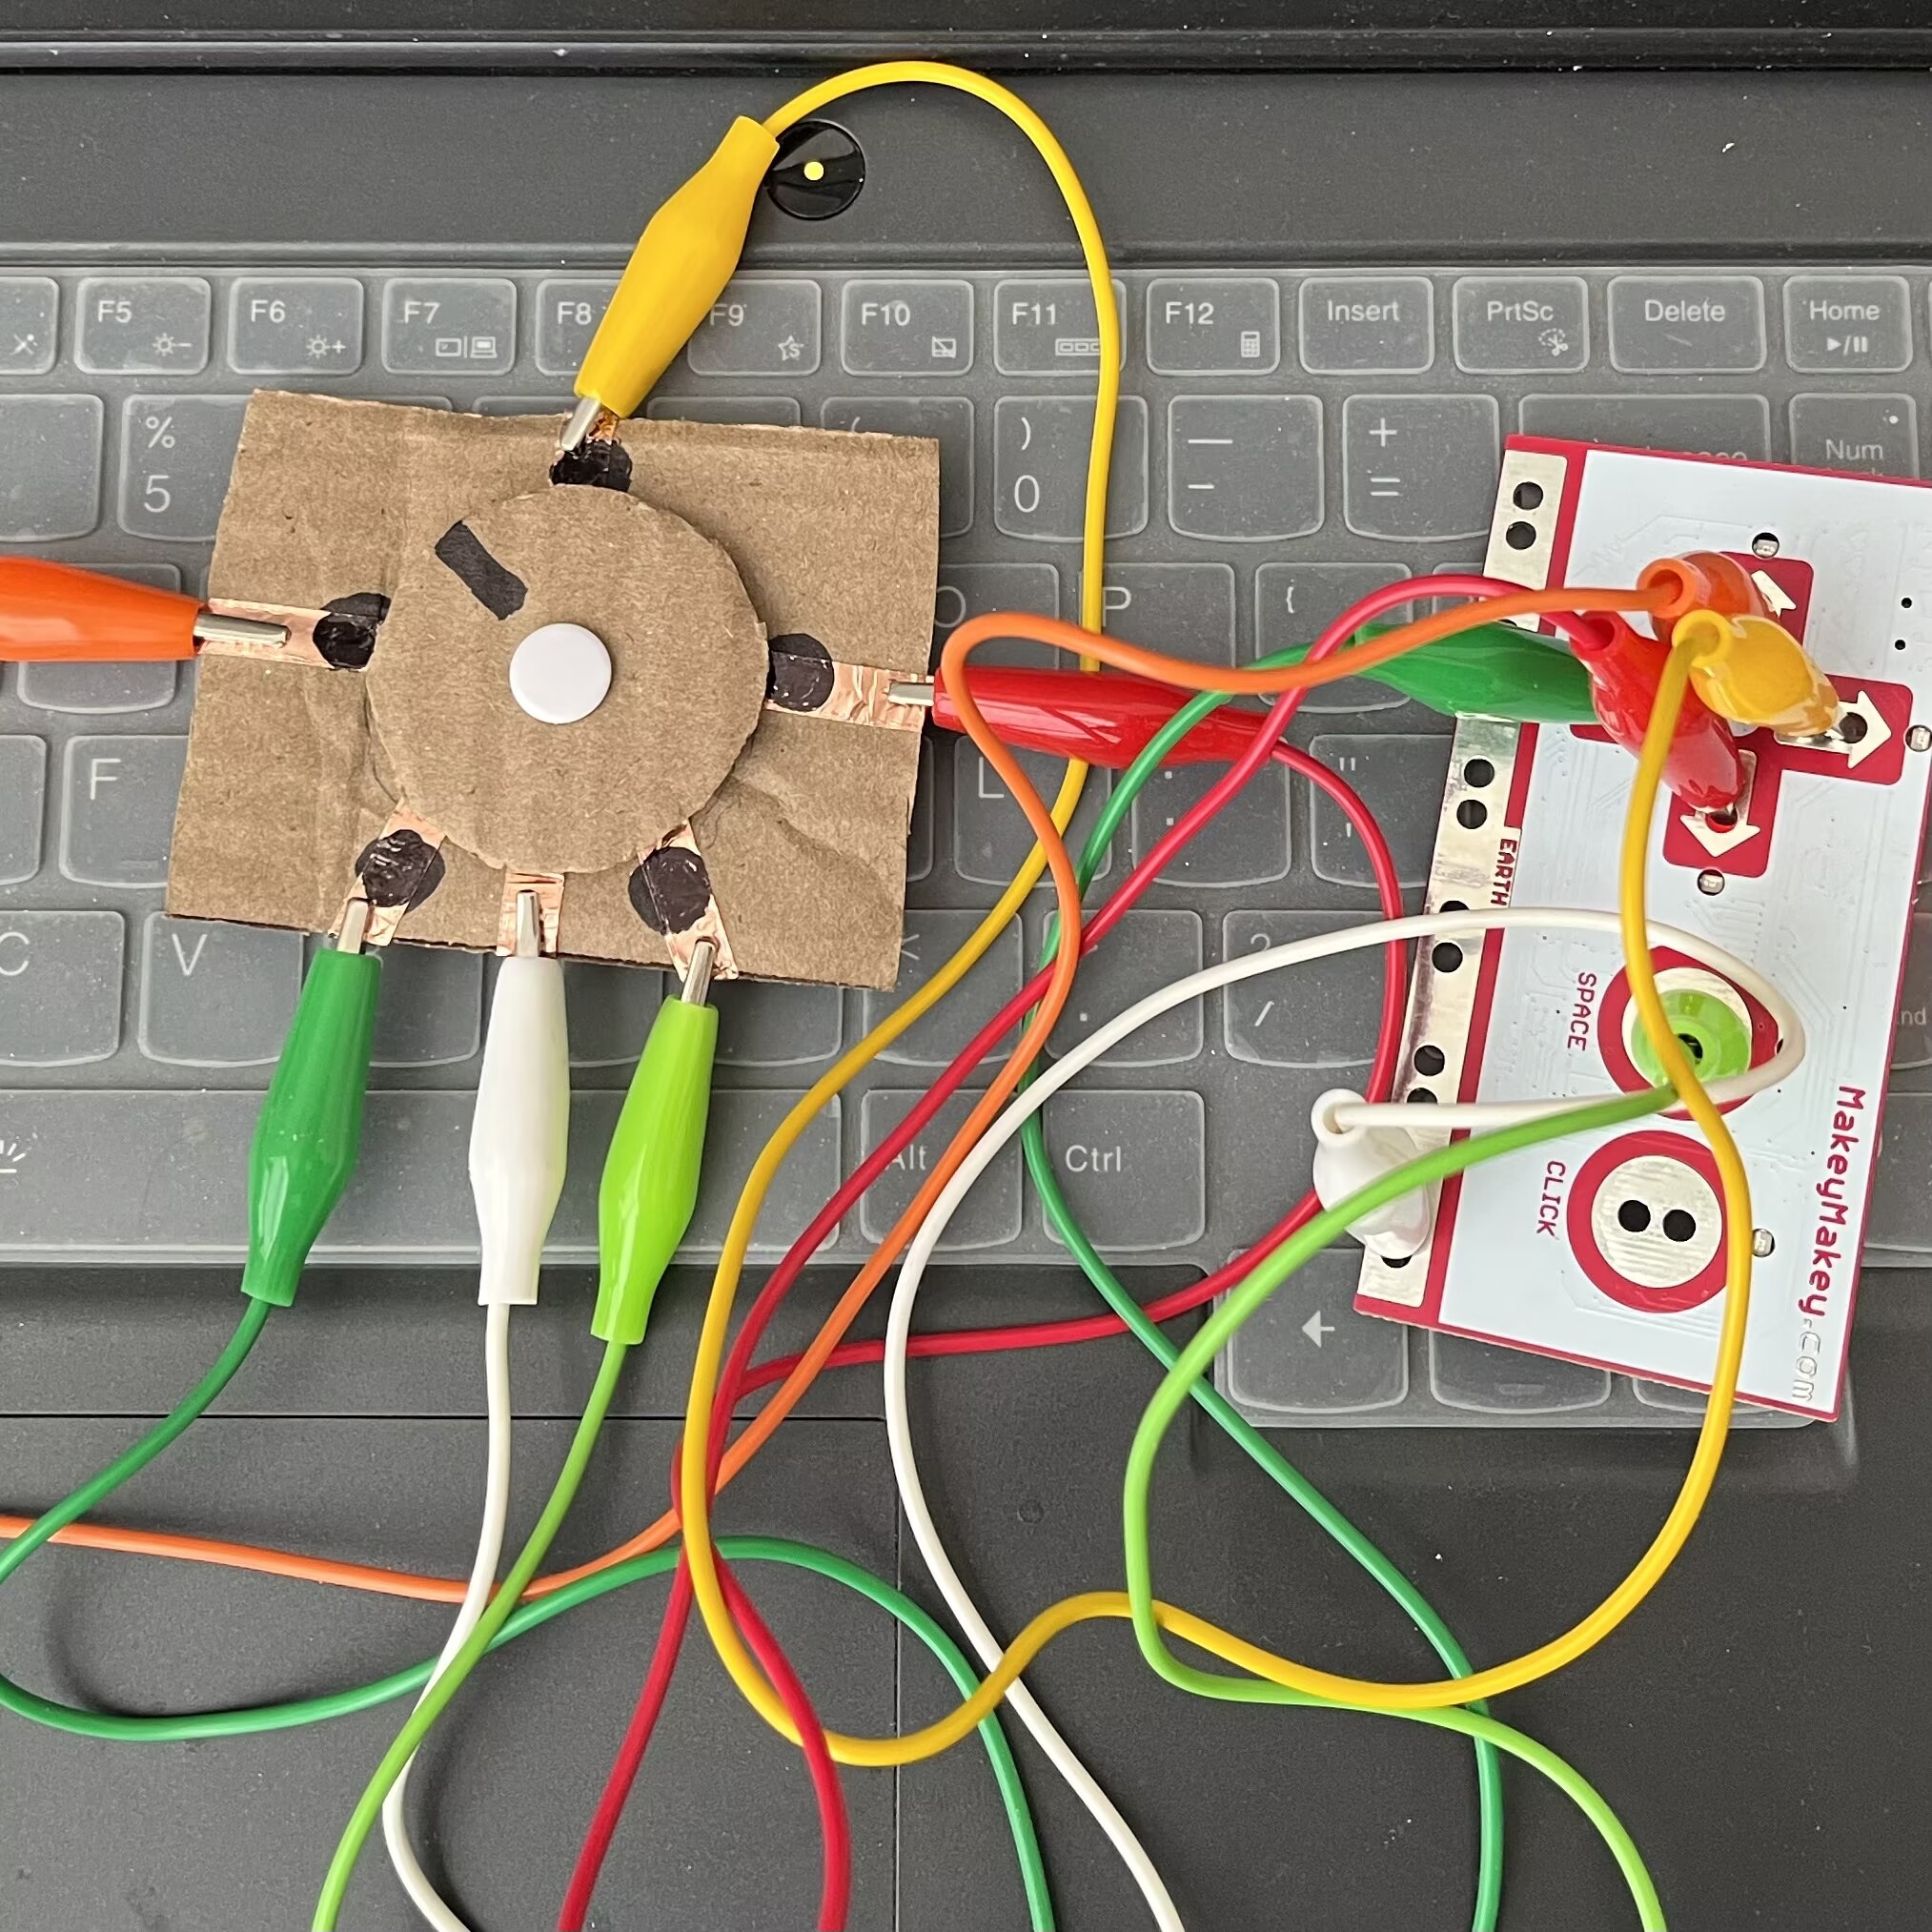
This project is a five-direction interactive design that translates input into movement, sound, and visual feedback. The user controls the direction of the moving object by rotating a physical dial (knob). Movement, sound, and visual elements are combined to create a game-like interactive experience.

Activity 1

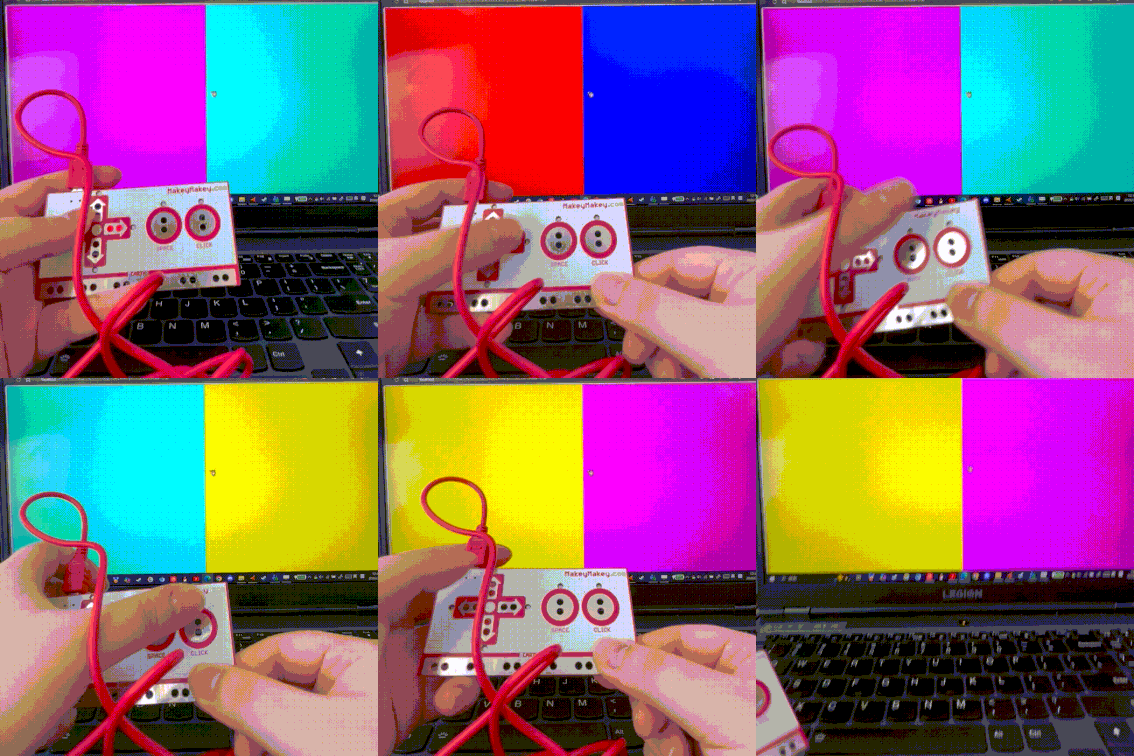
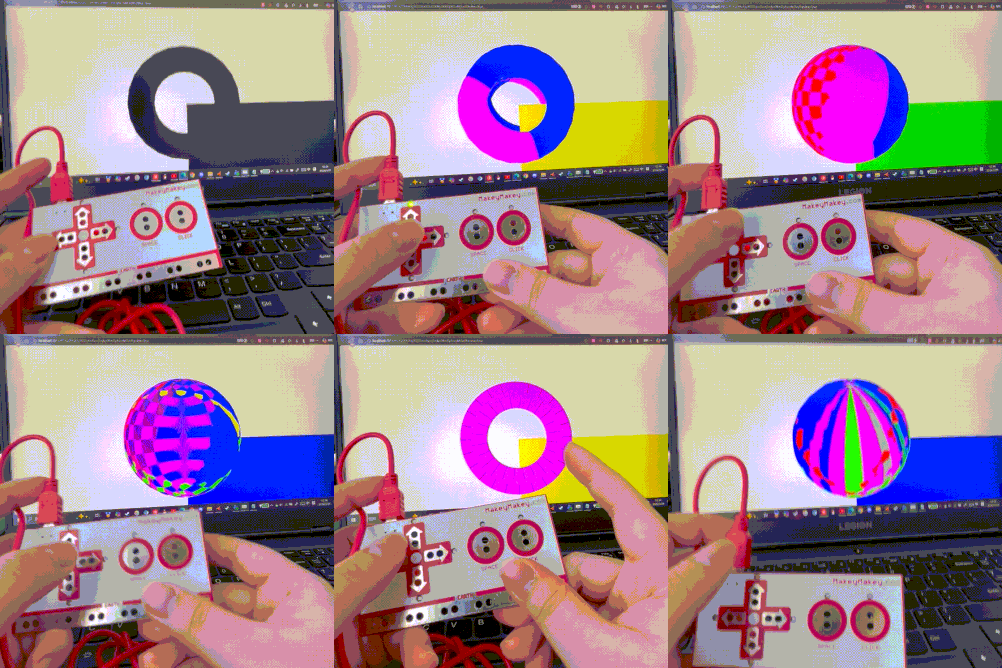
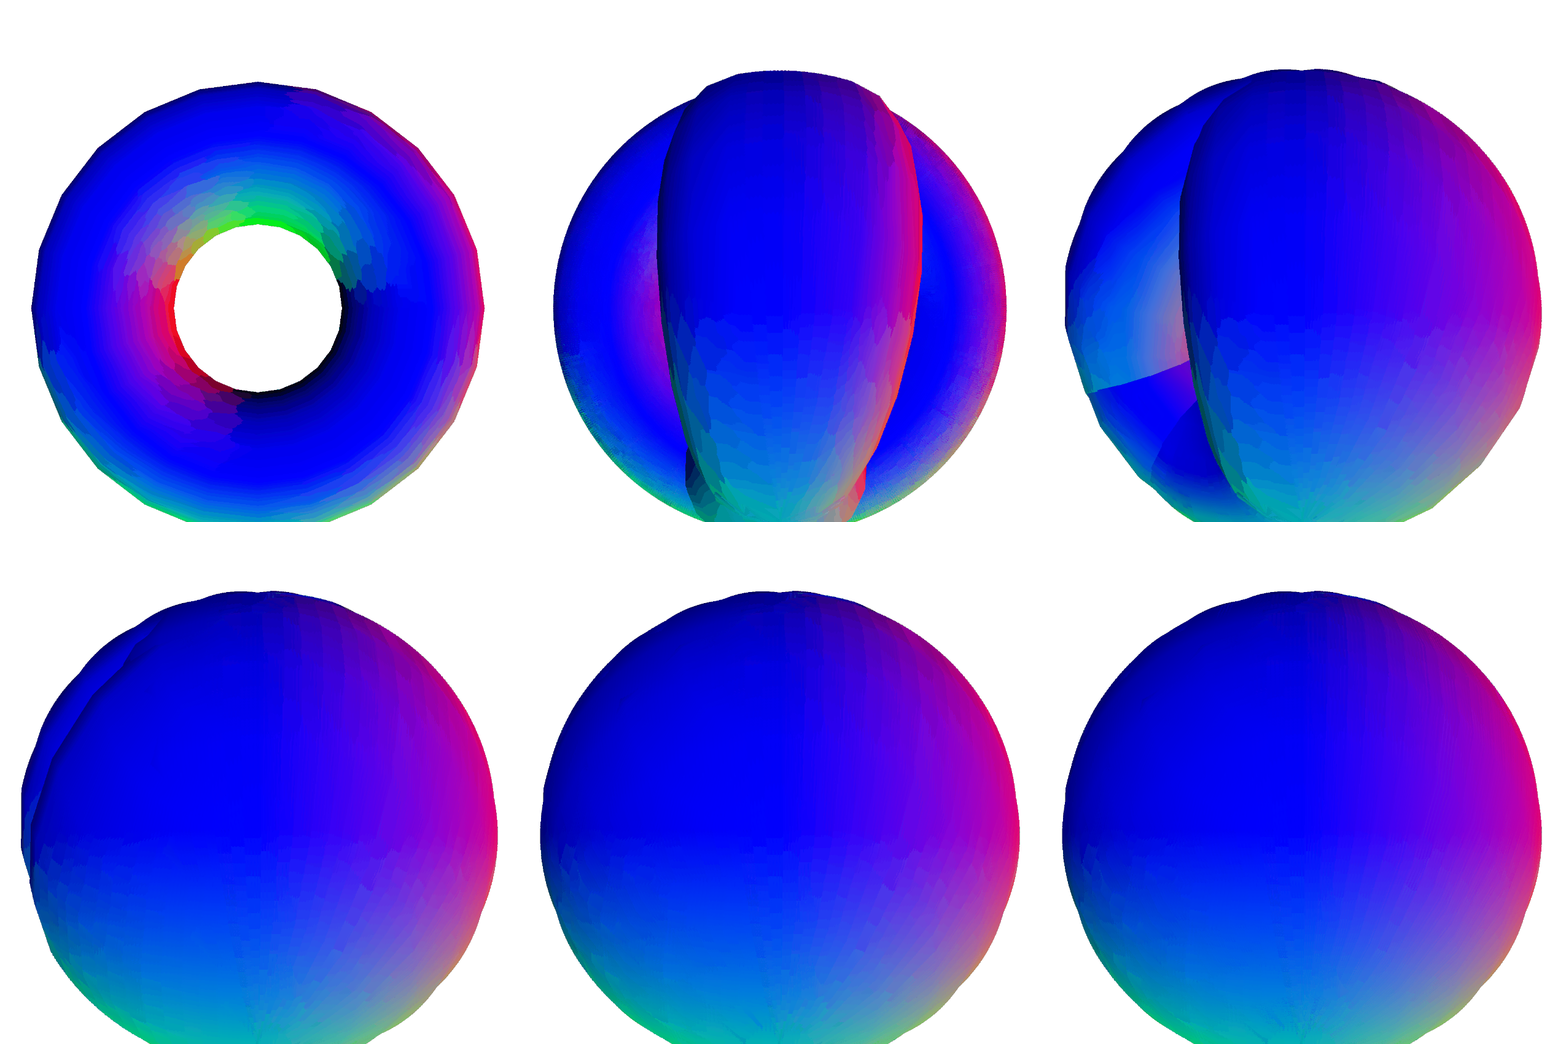
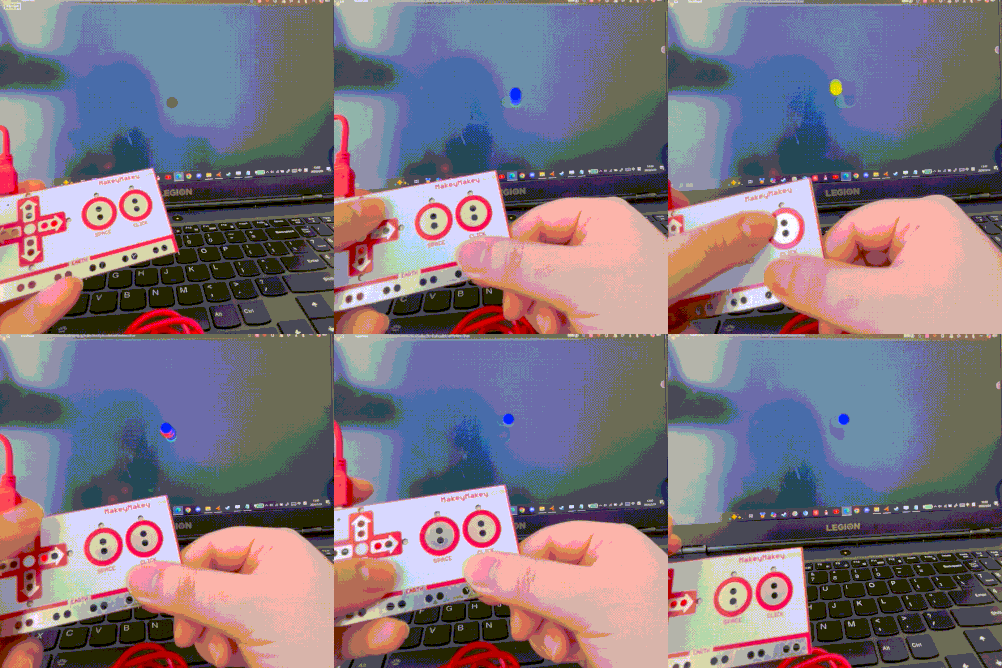
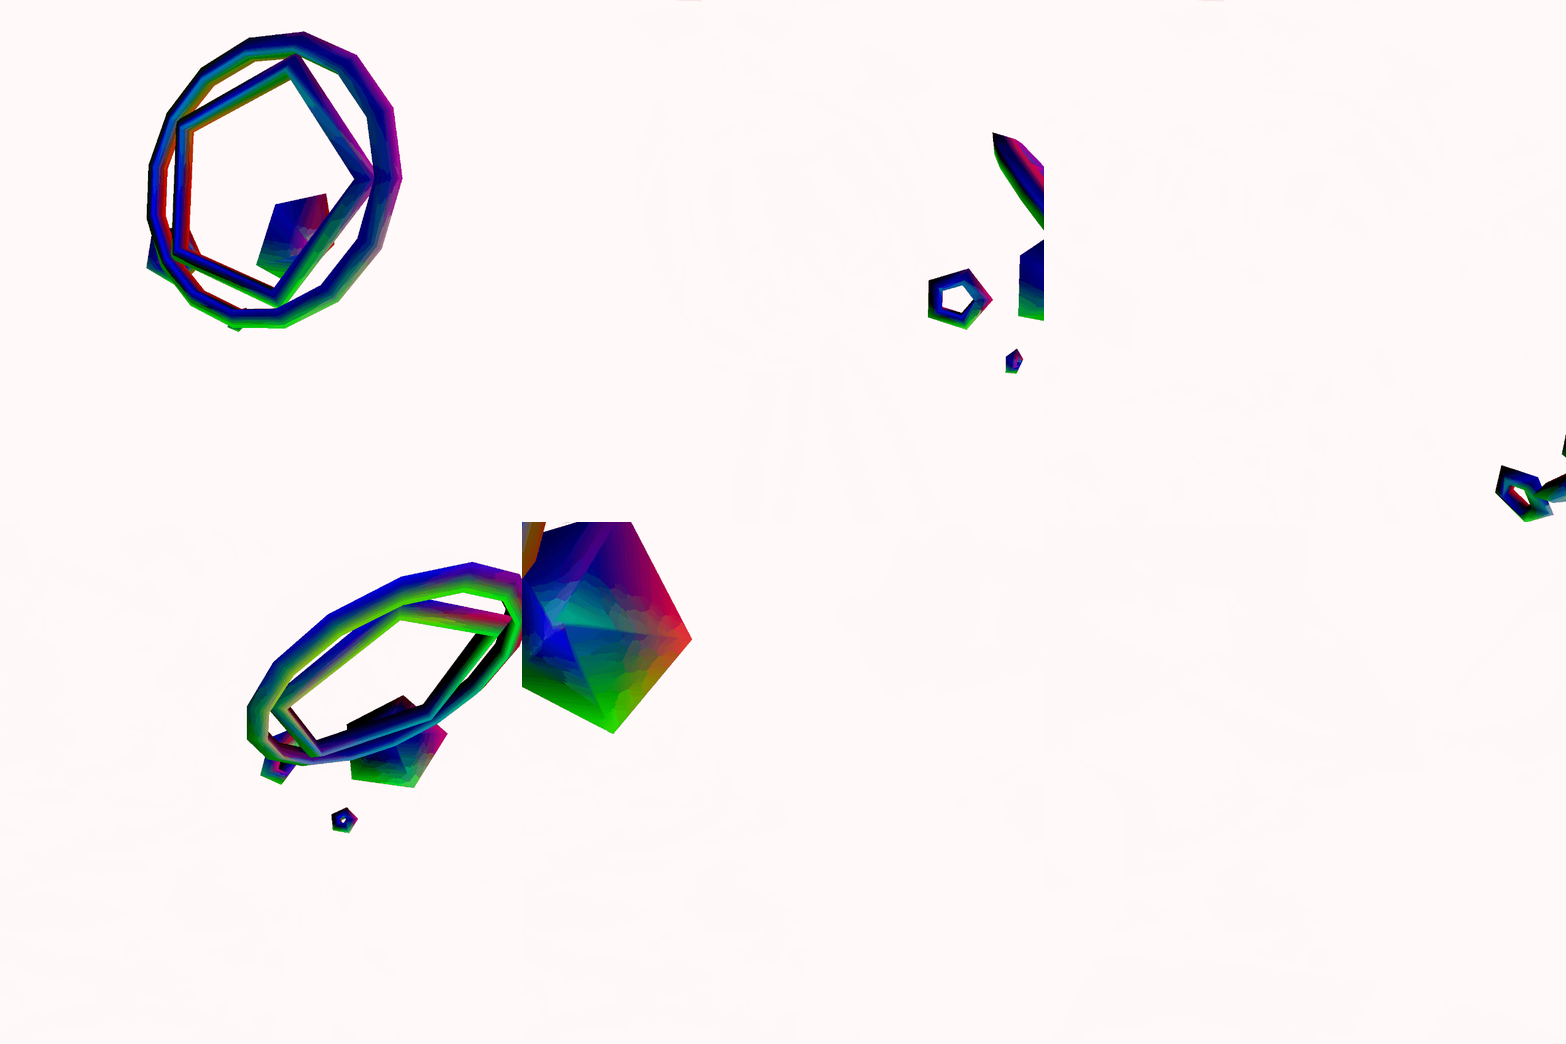
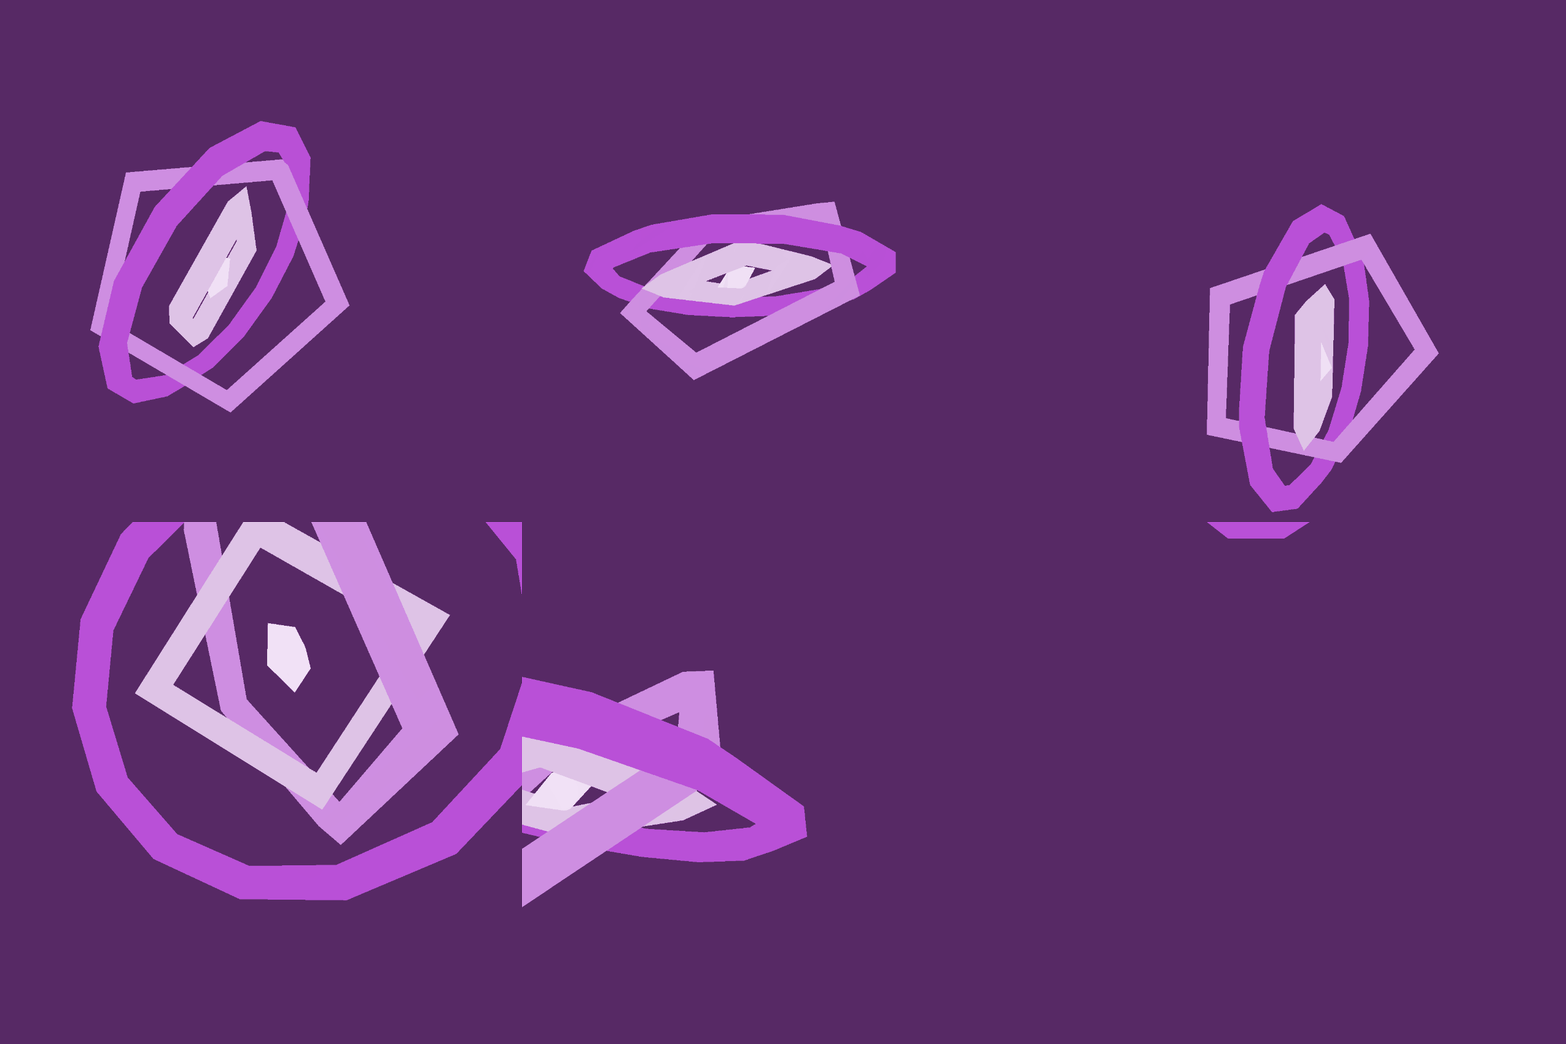
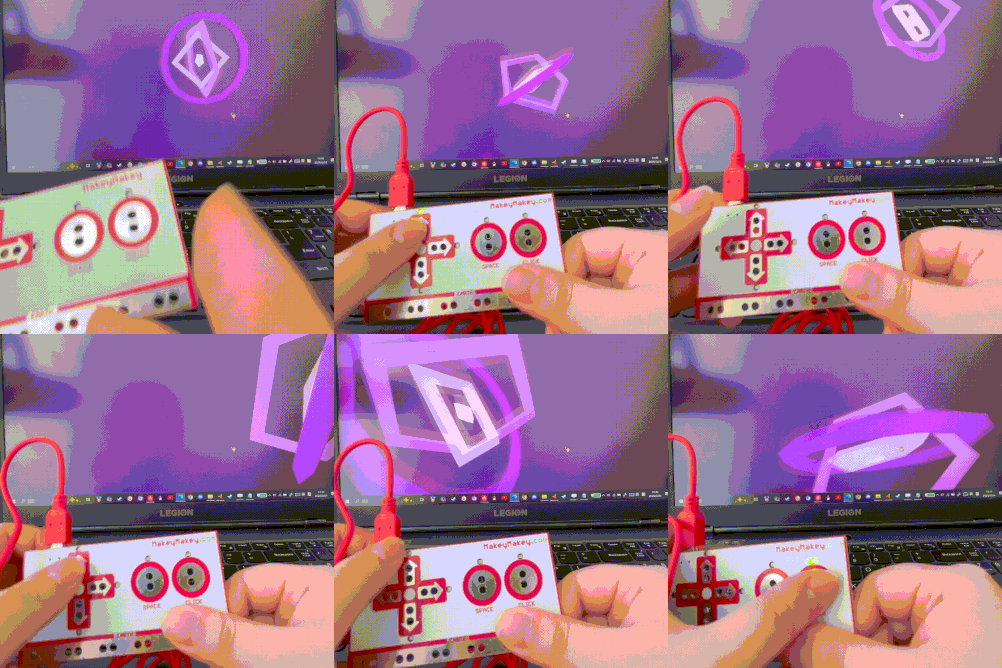
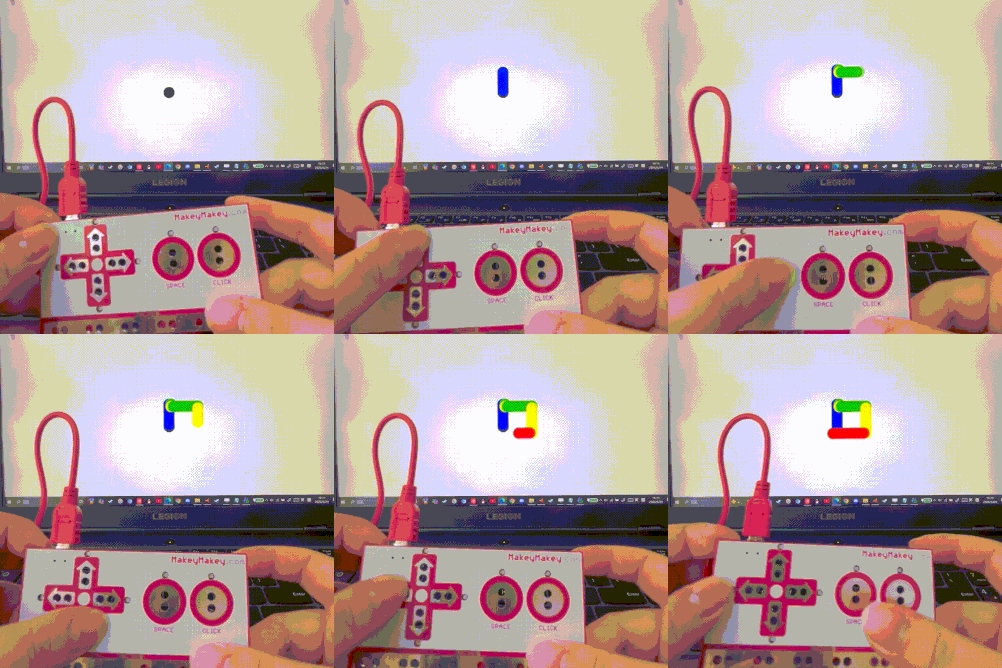
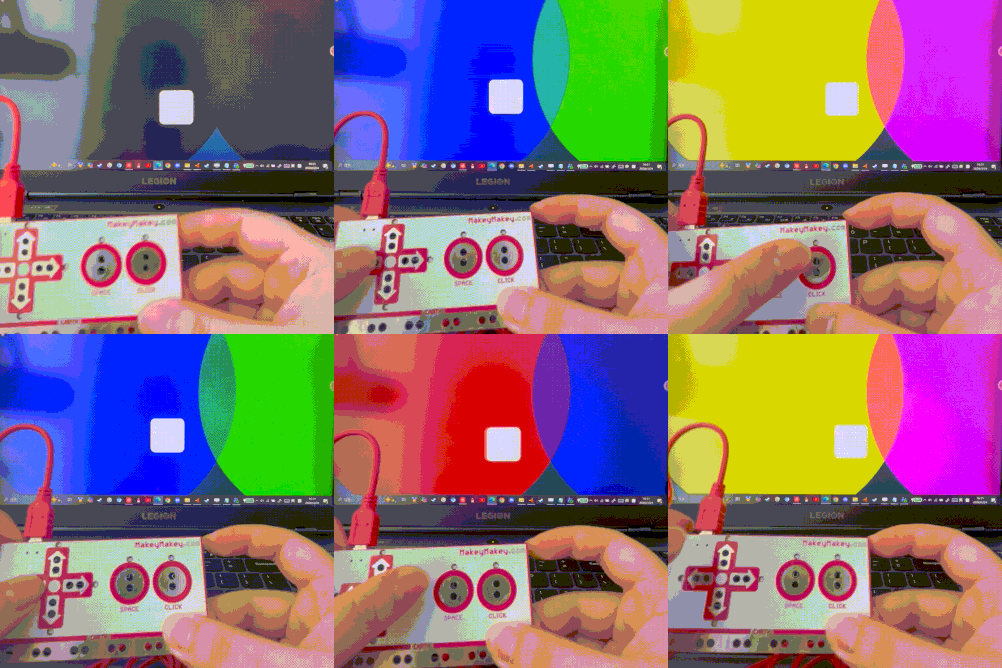
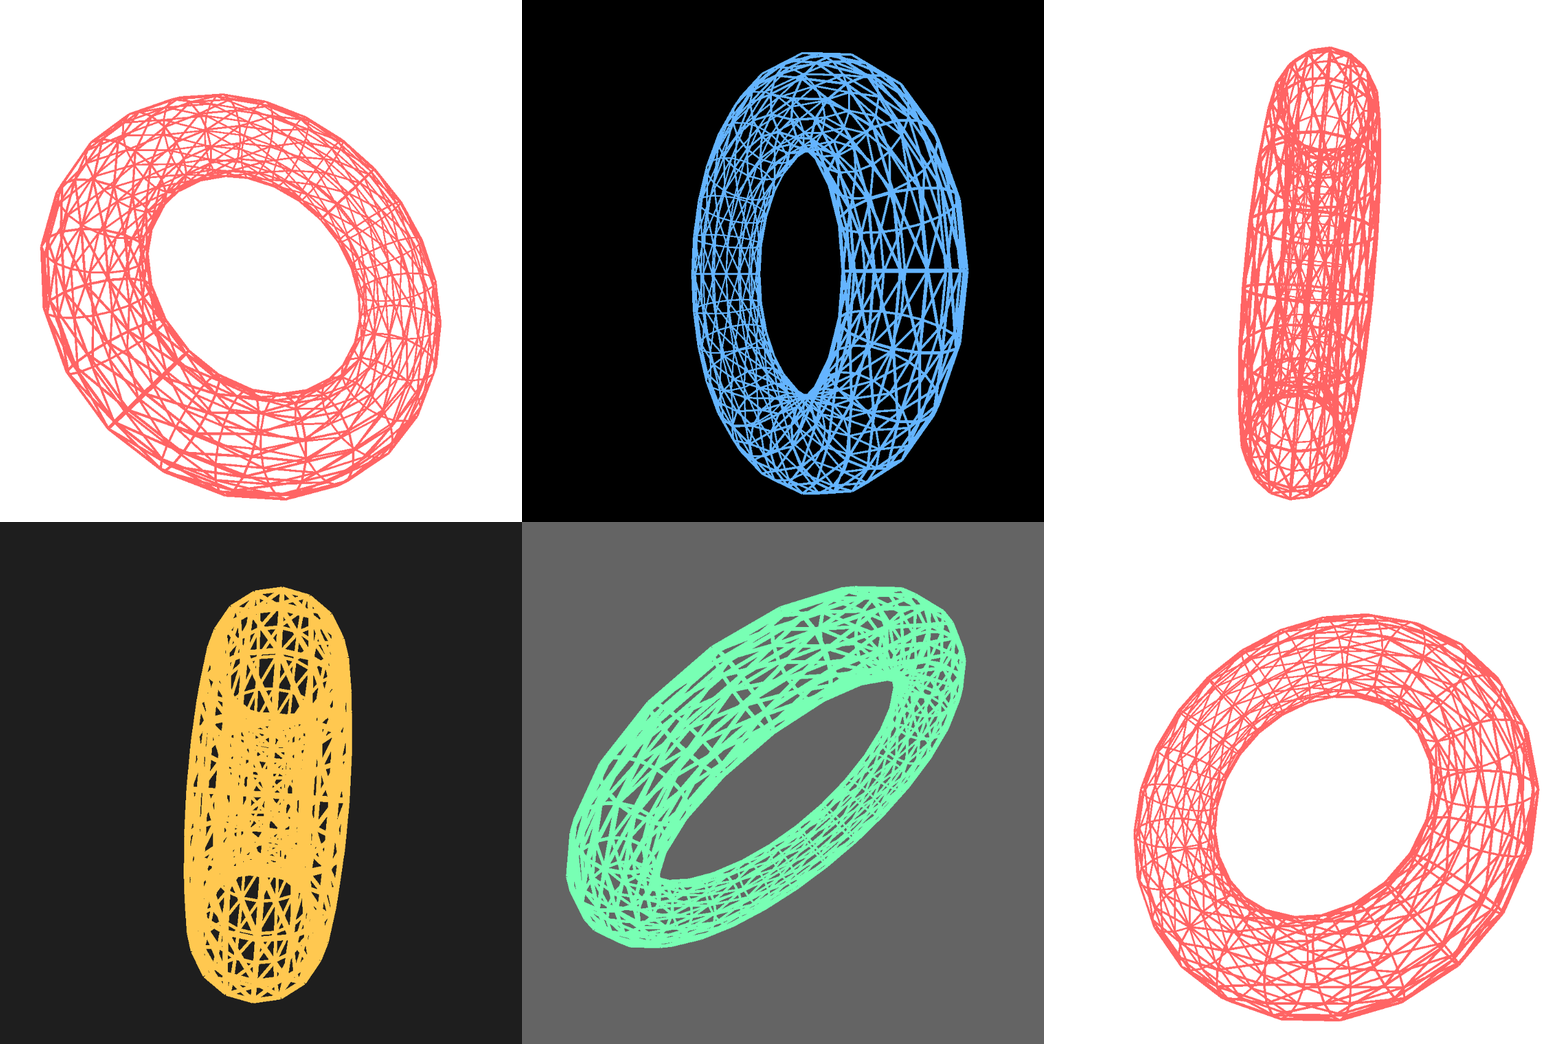
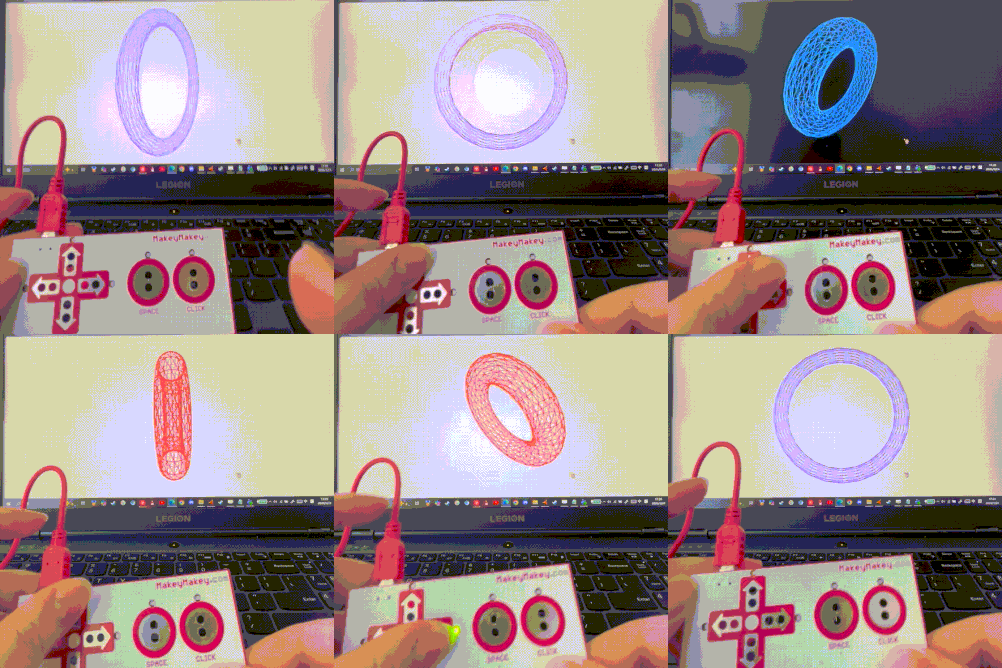
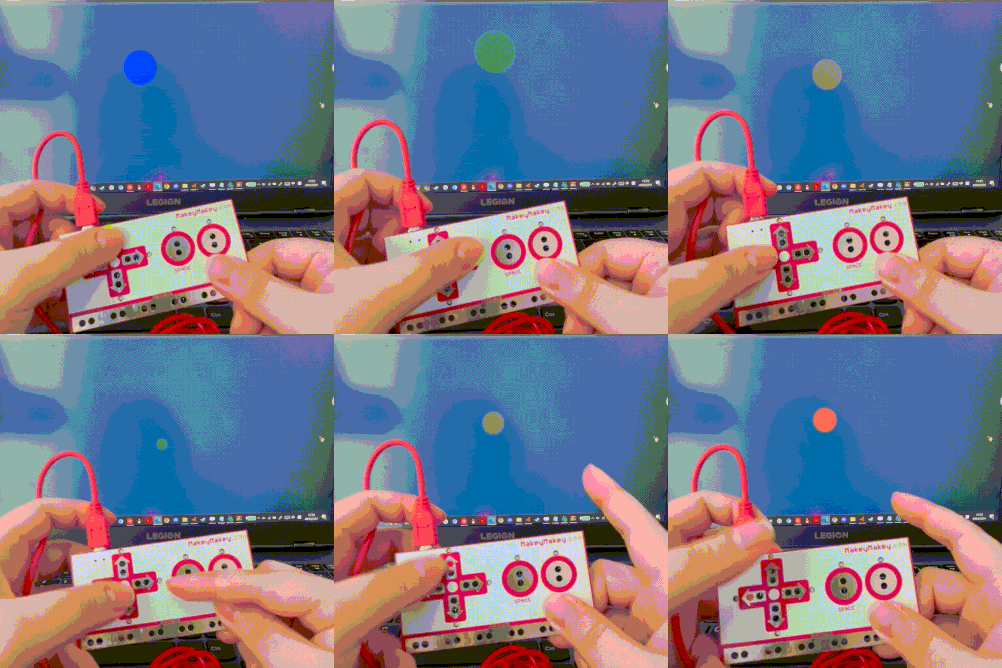
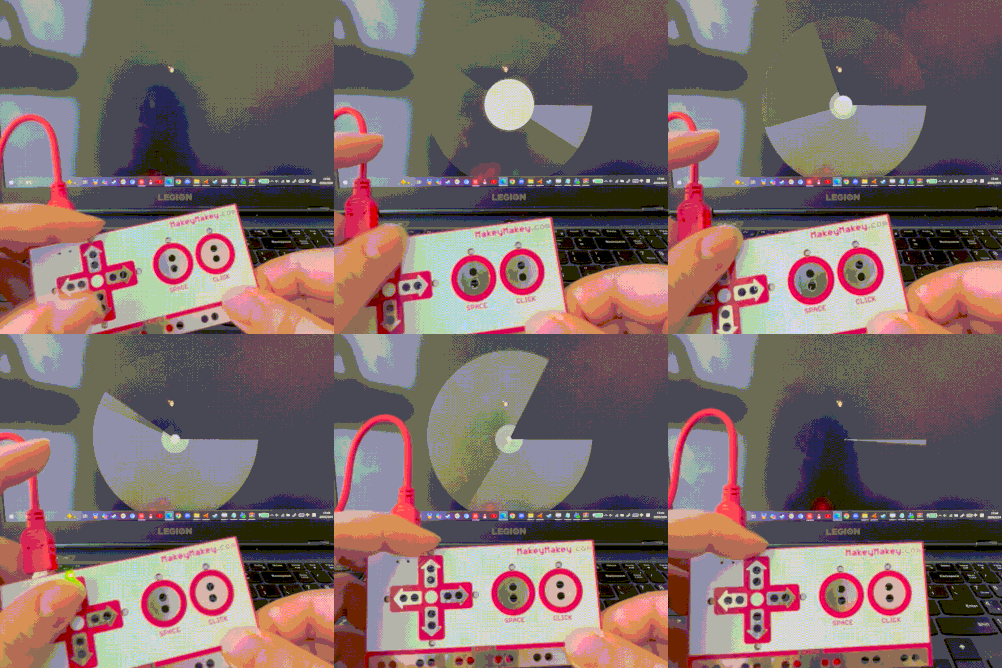
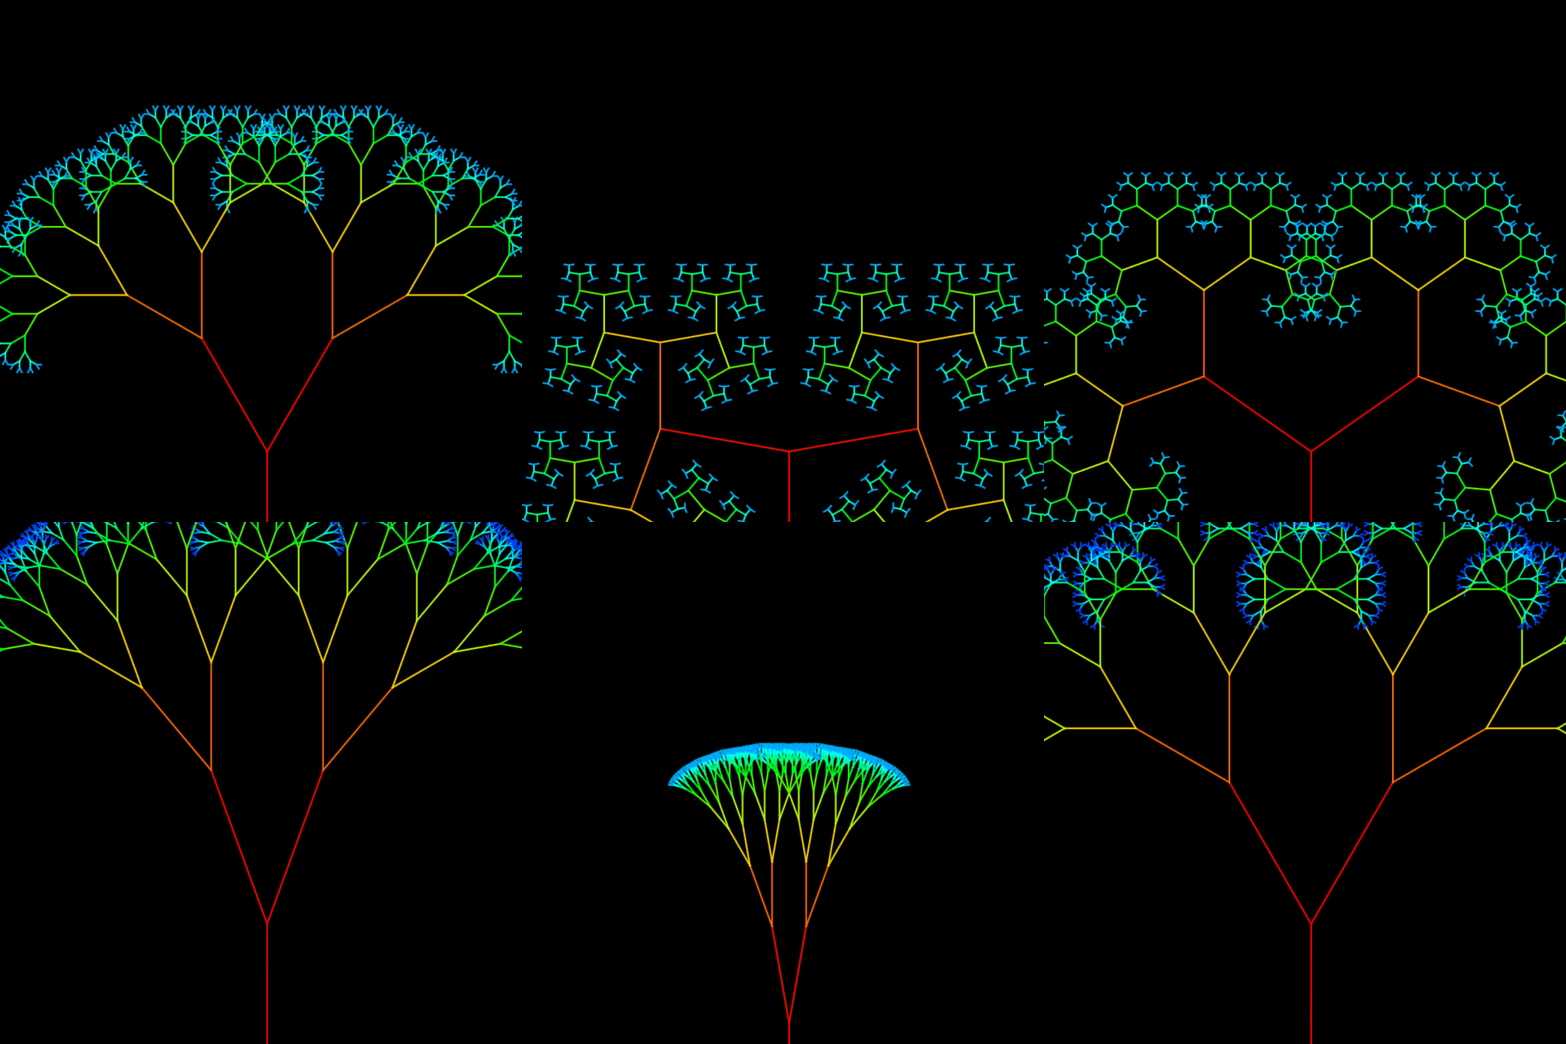
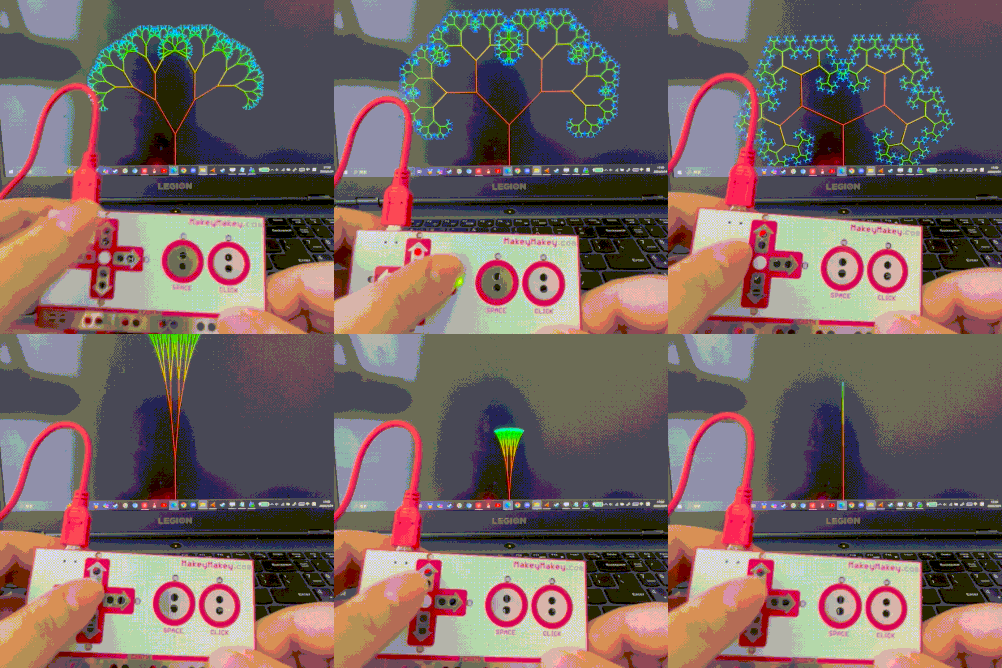
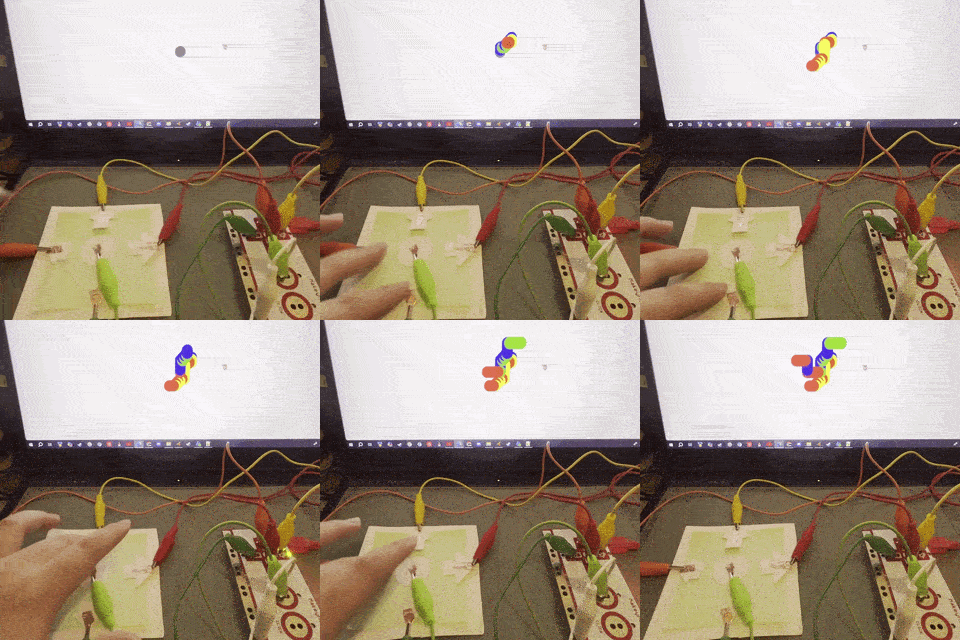
I added another square and changed the color reacitons to create stronger contrast. Control with Makey Makey. I tried adding a 3D model to the previous experiment, but an unexpected result was that the color was applied to the torus. This was another unexpected outcome that happened when I combined the two sketches. Control with Makey Makey. I continued changing parts of the code to explore different visual results. I kept modifying parts of the code to test more variations. The ellipse changes color as it moves, and it leaves a tail effect behind. Control with Makey Makey. I added more toruses and changed their values. More exploration of shapes and color combinations. Control with Makey Makey. I controlled the moving dot and used it to draw a square. Control with Makey Makey. I changed the shape to rectangle. Further exploration with this sketch. Control with Makey Makey. changed the model into a wireframe and experimented with controlling the background, rotation, and size. Control with Makey Makey. An exploration of controlling size, color, and movement. Control with Makey Makey. I integrated arcs with ellipses, which made the result look like a loading animation. Control with Makey Makey. Testing the Recursive Tree example from p5.js. Control with Makey Makey.

Activity 2
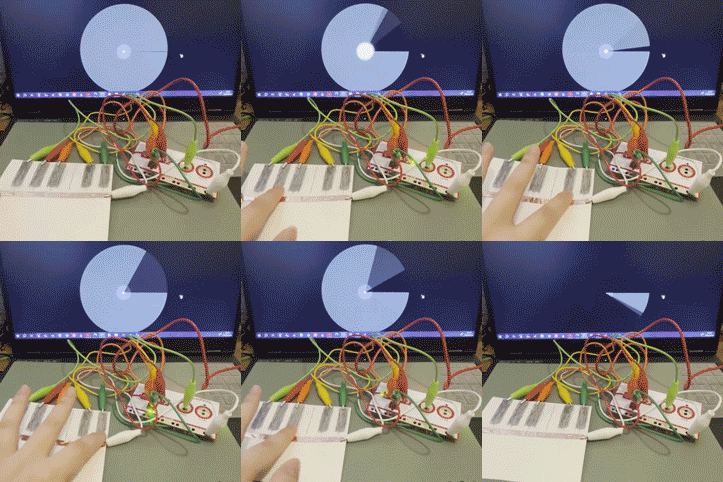
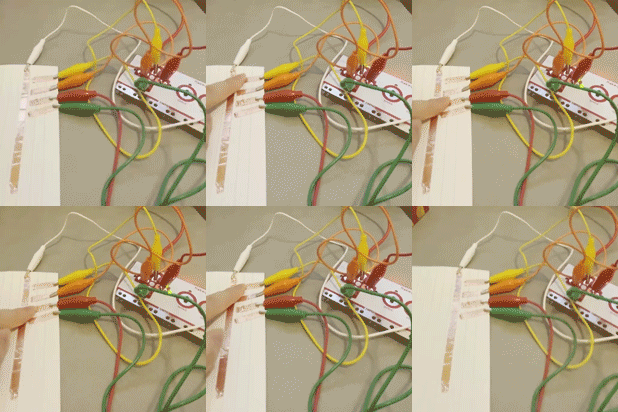
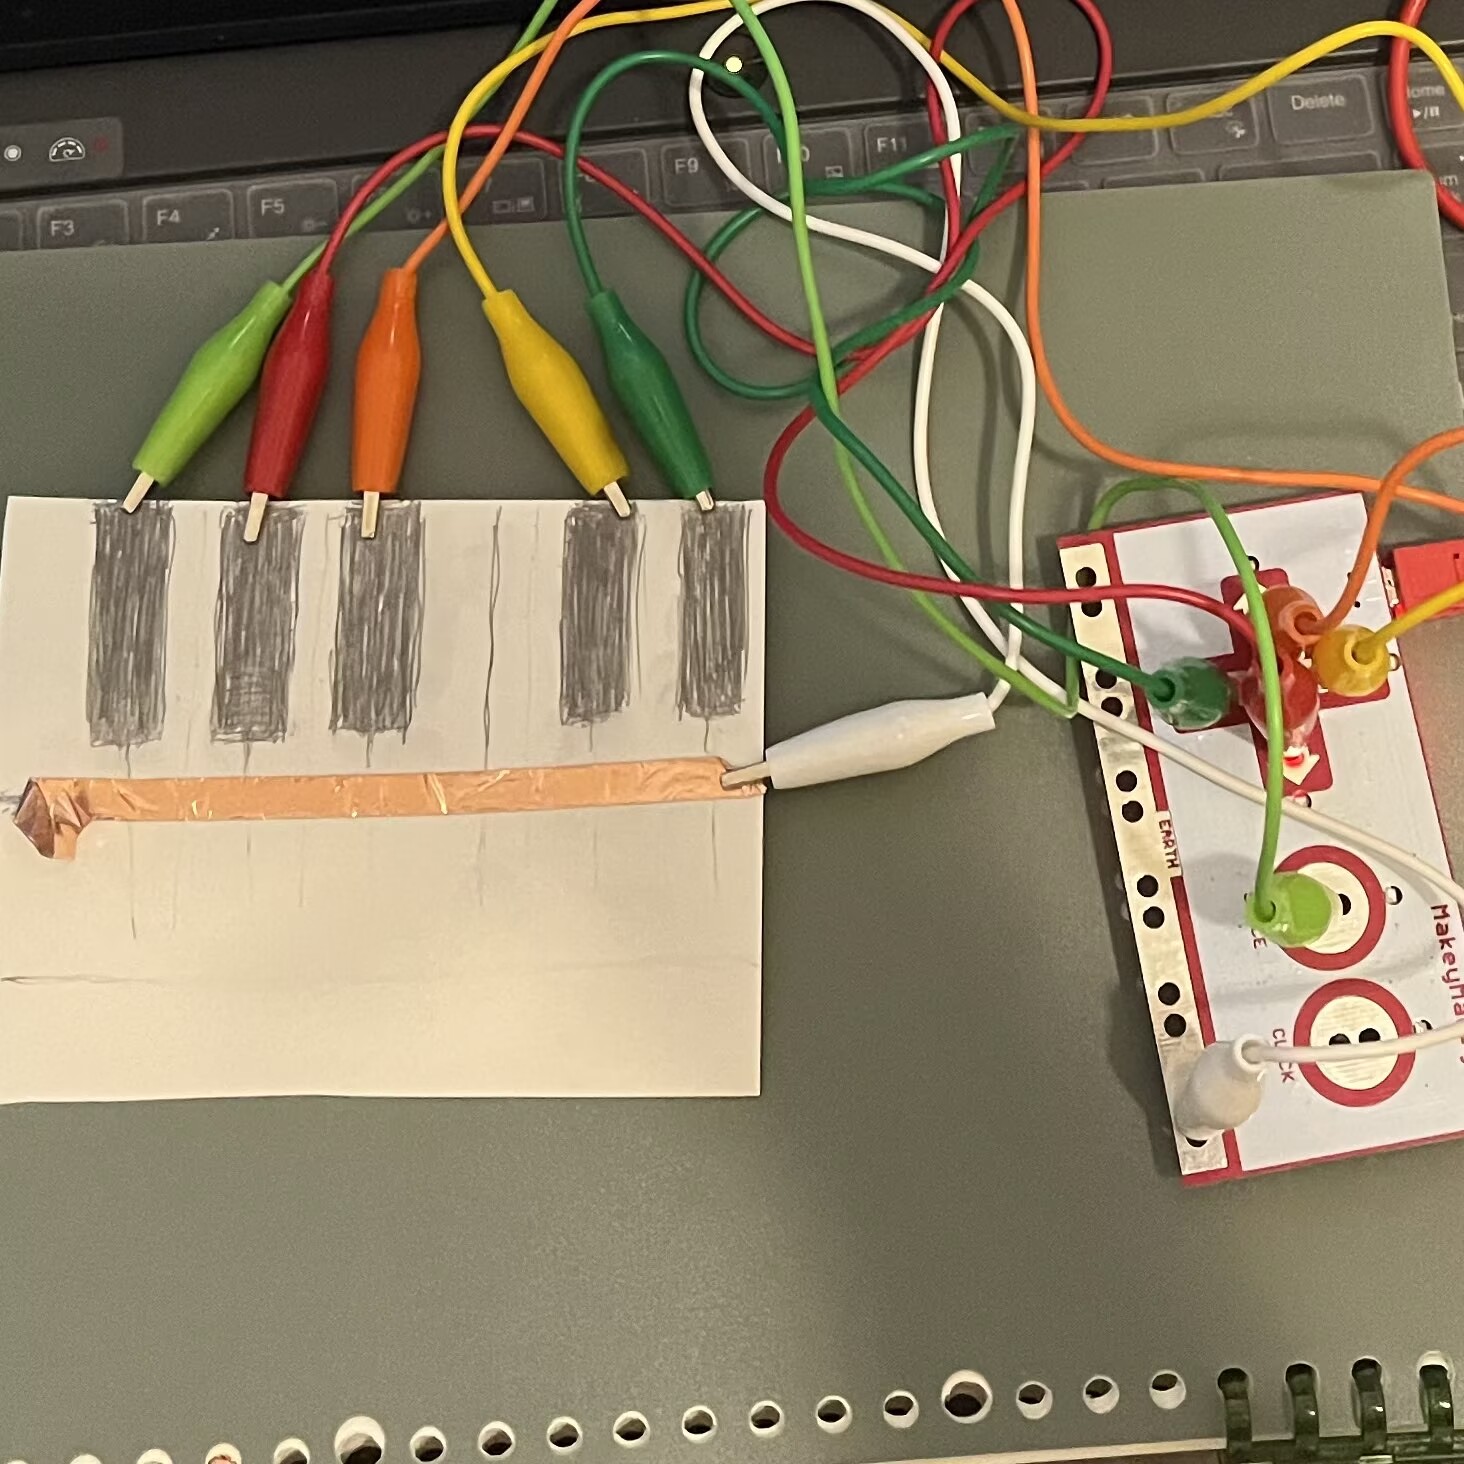
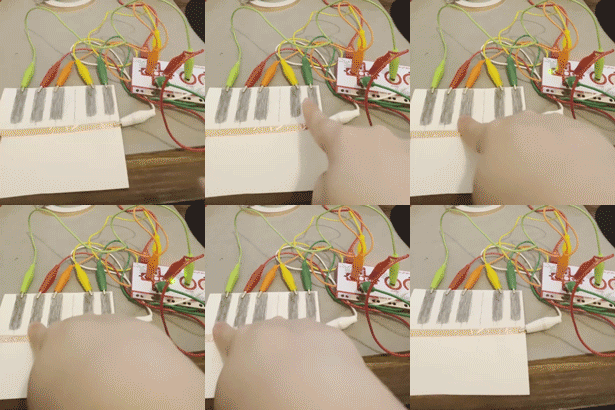
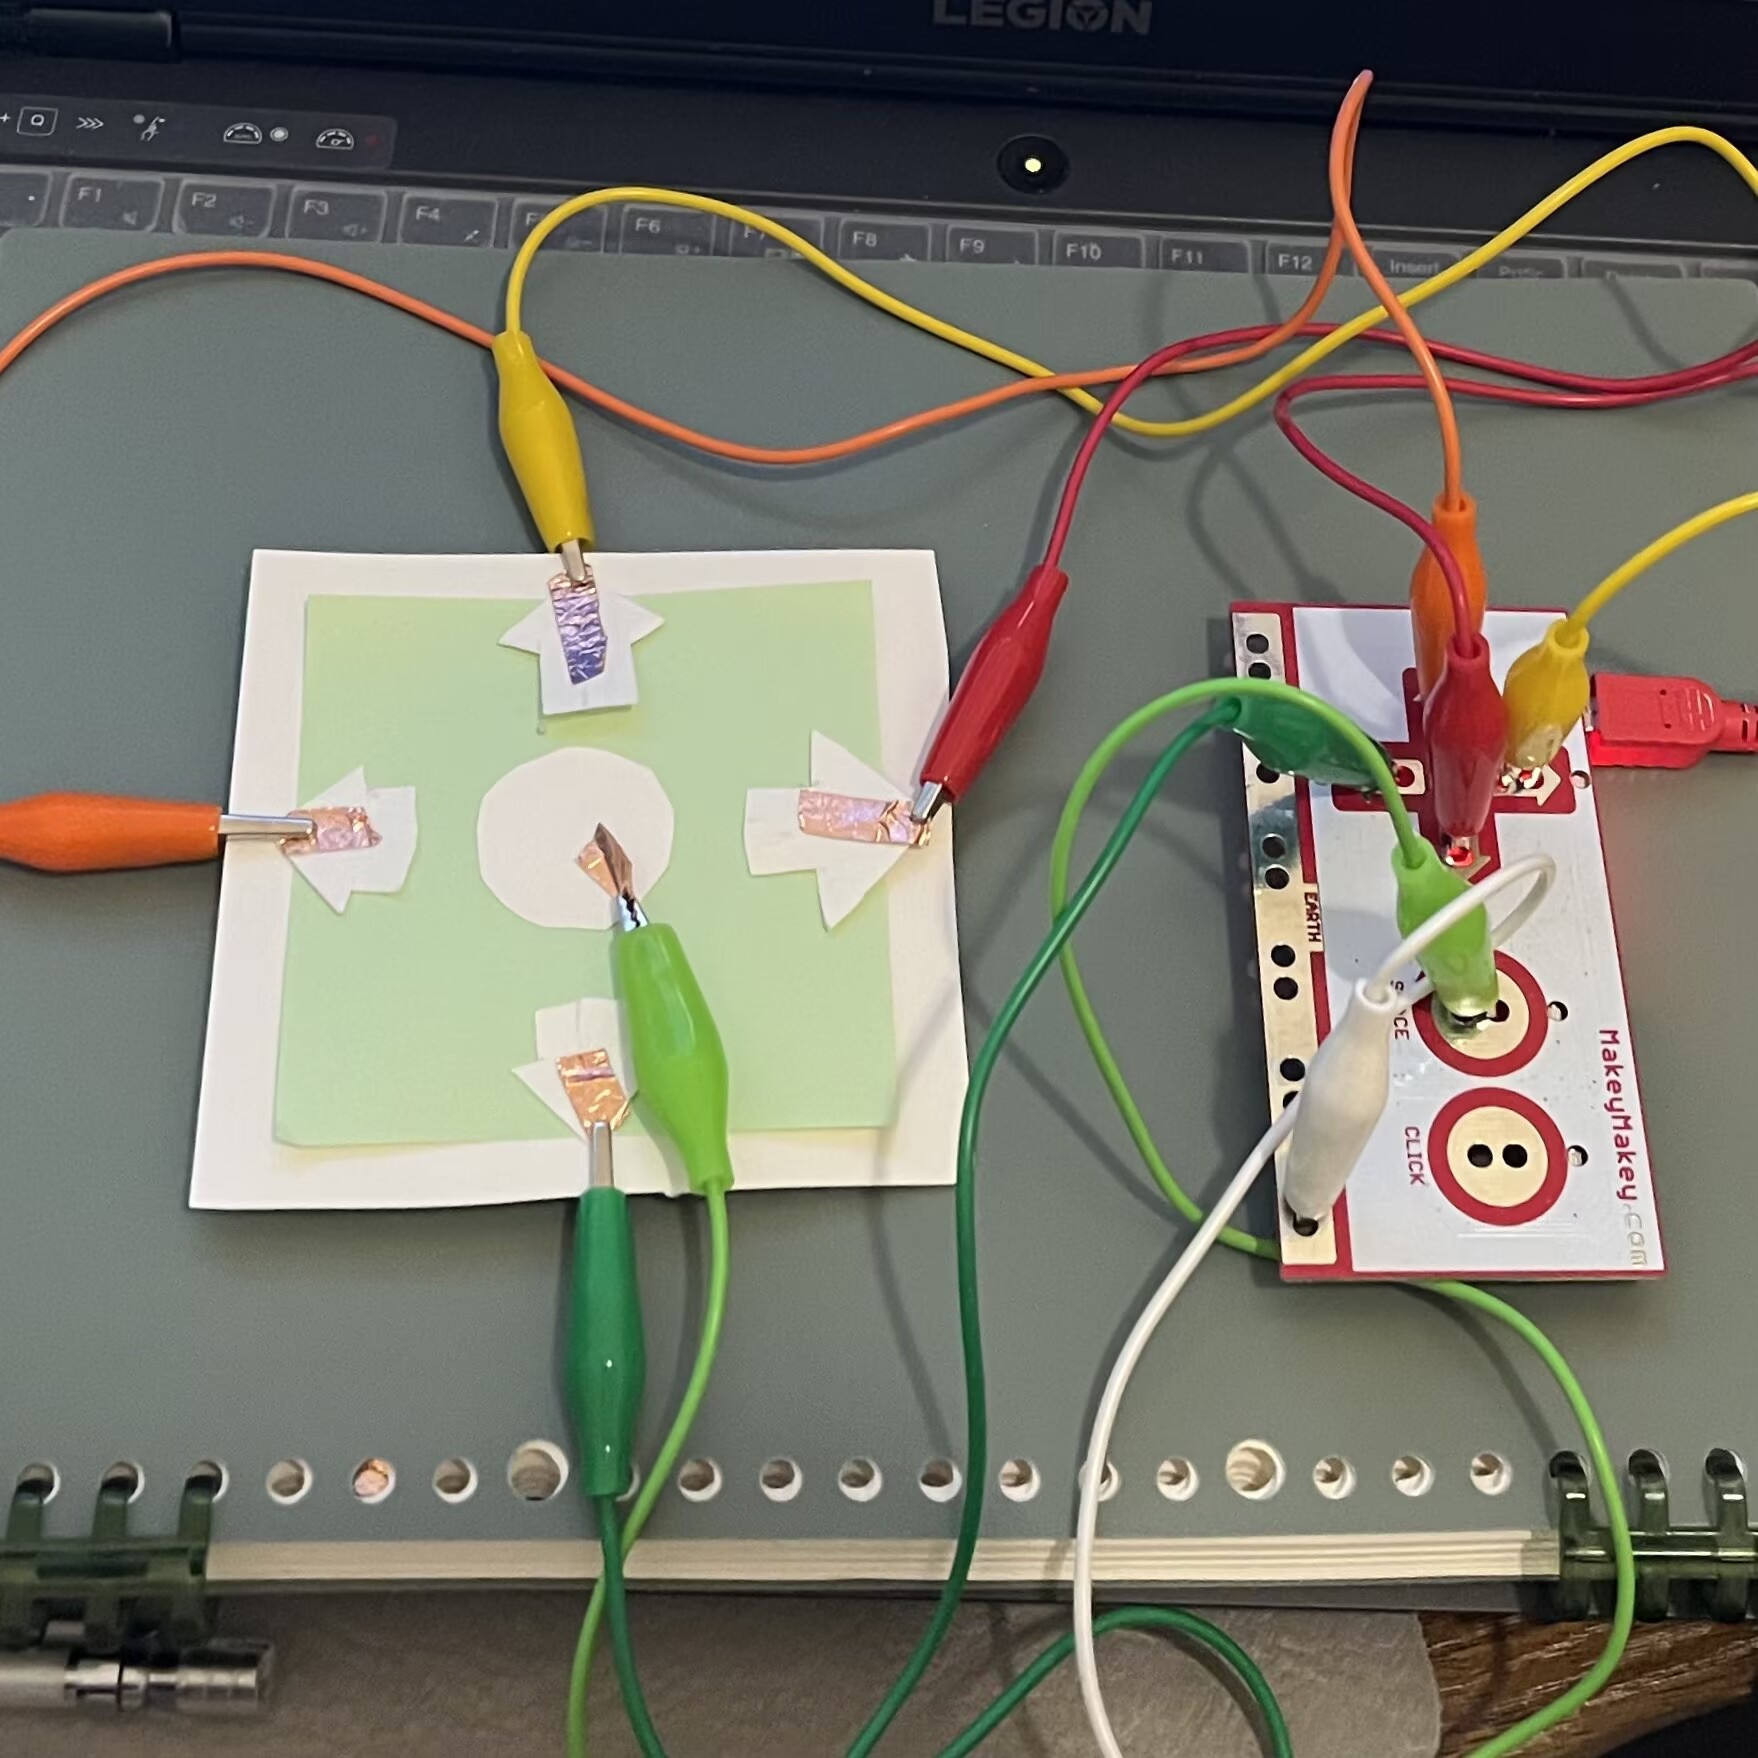
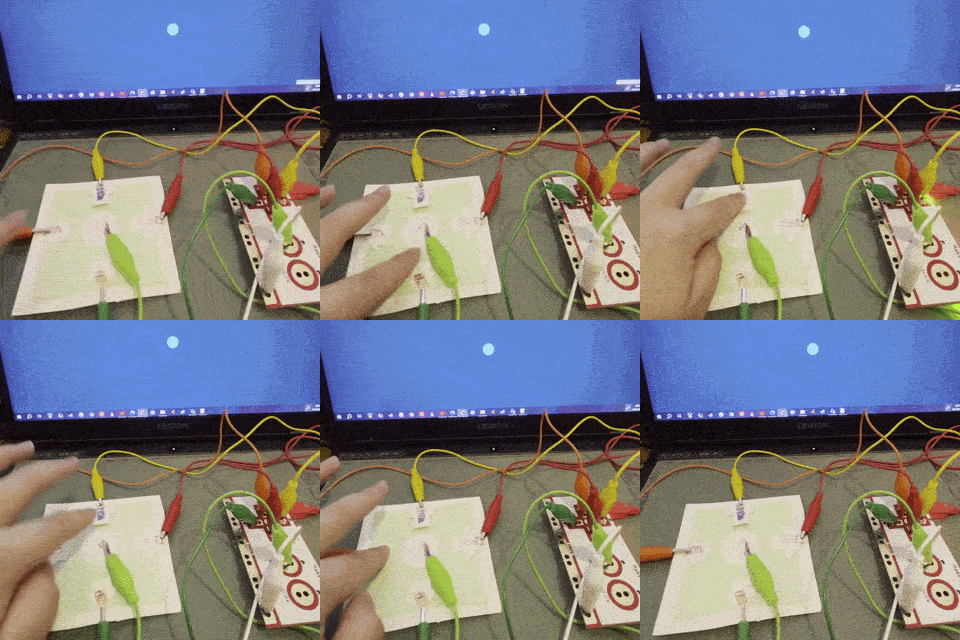
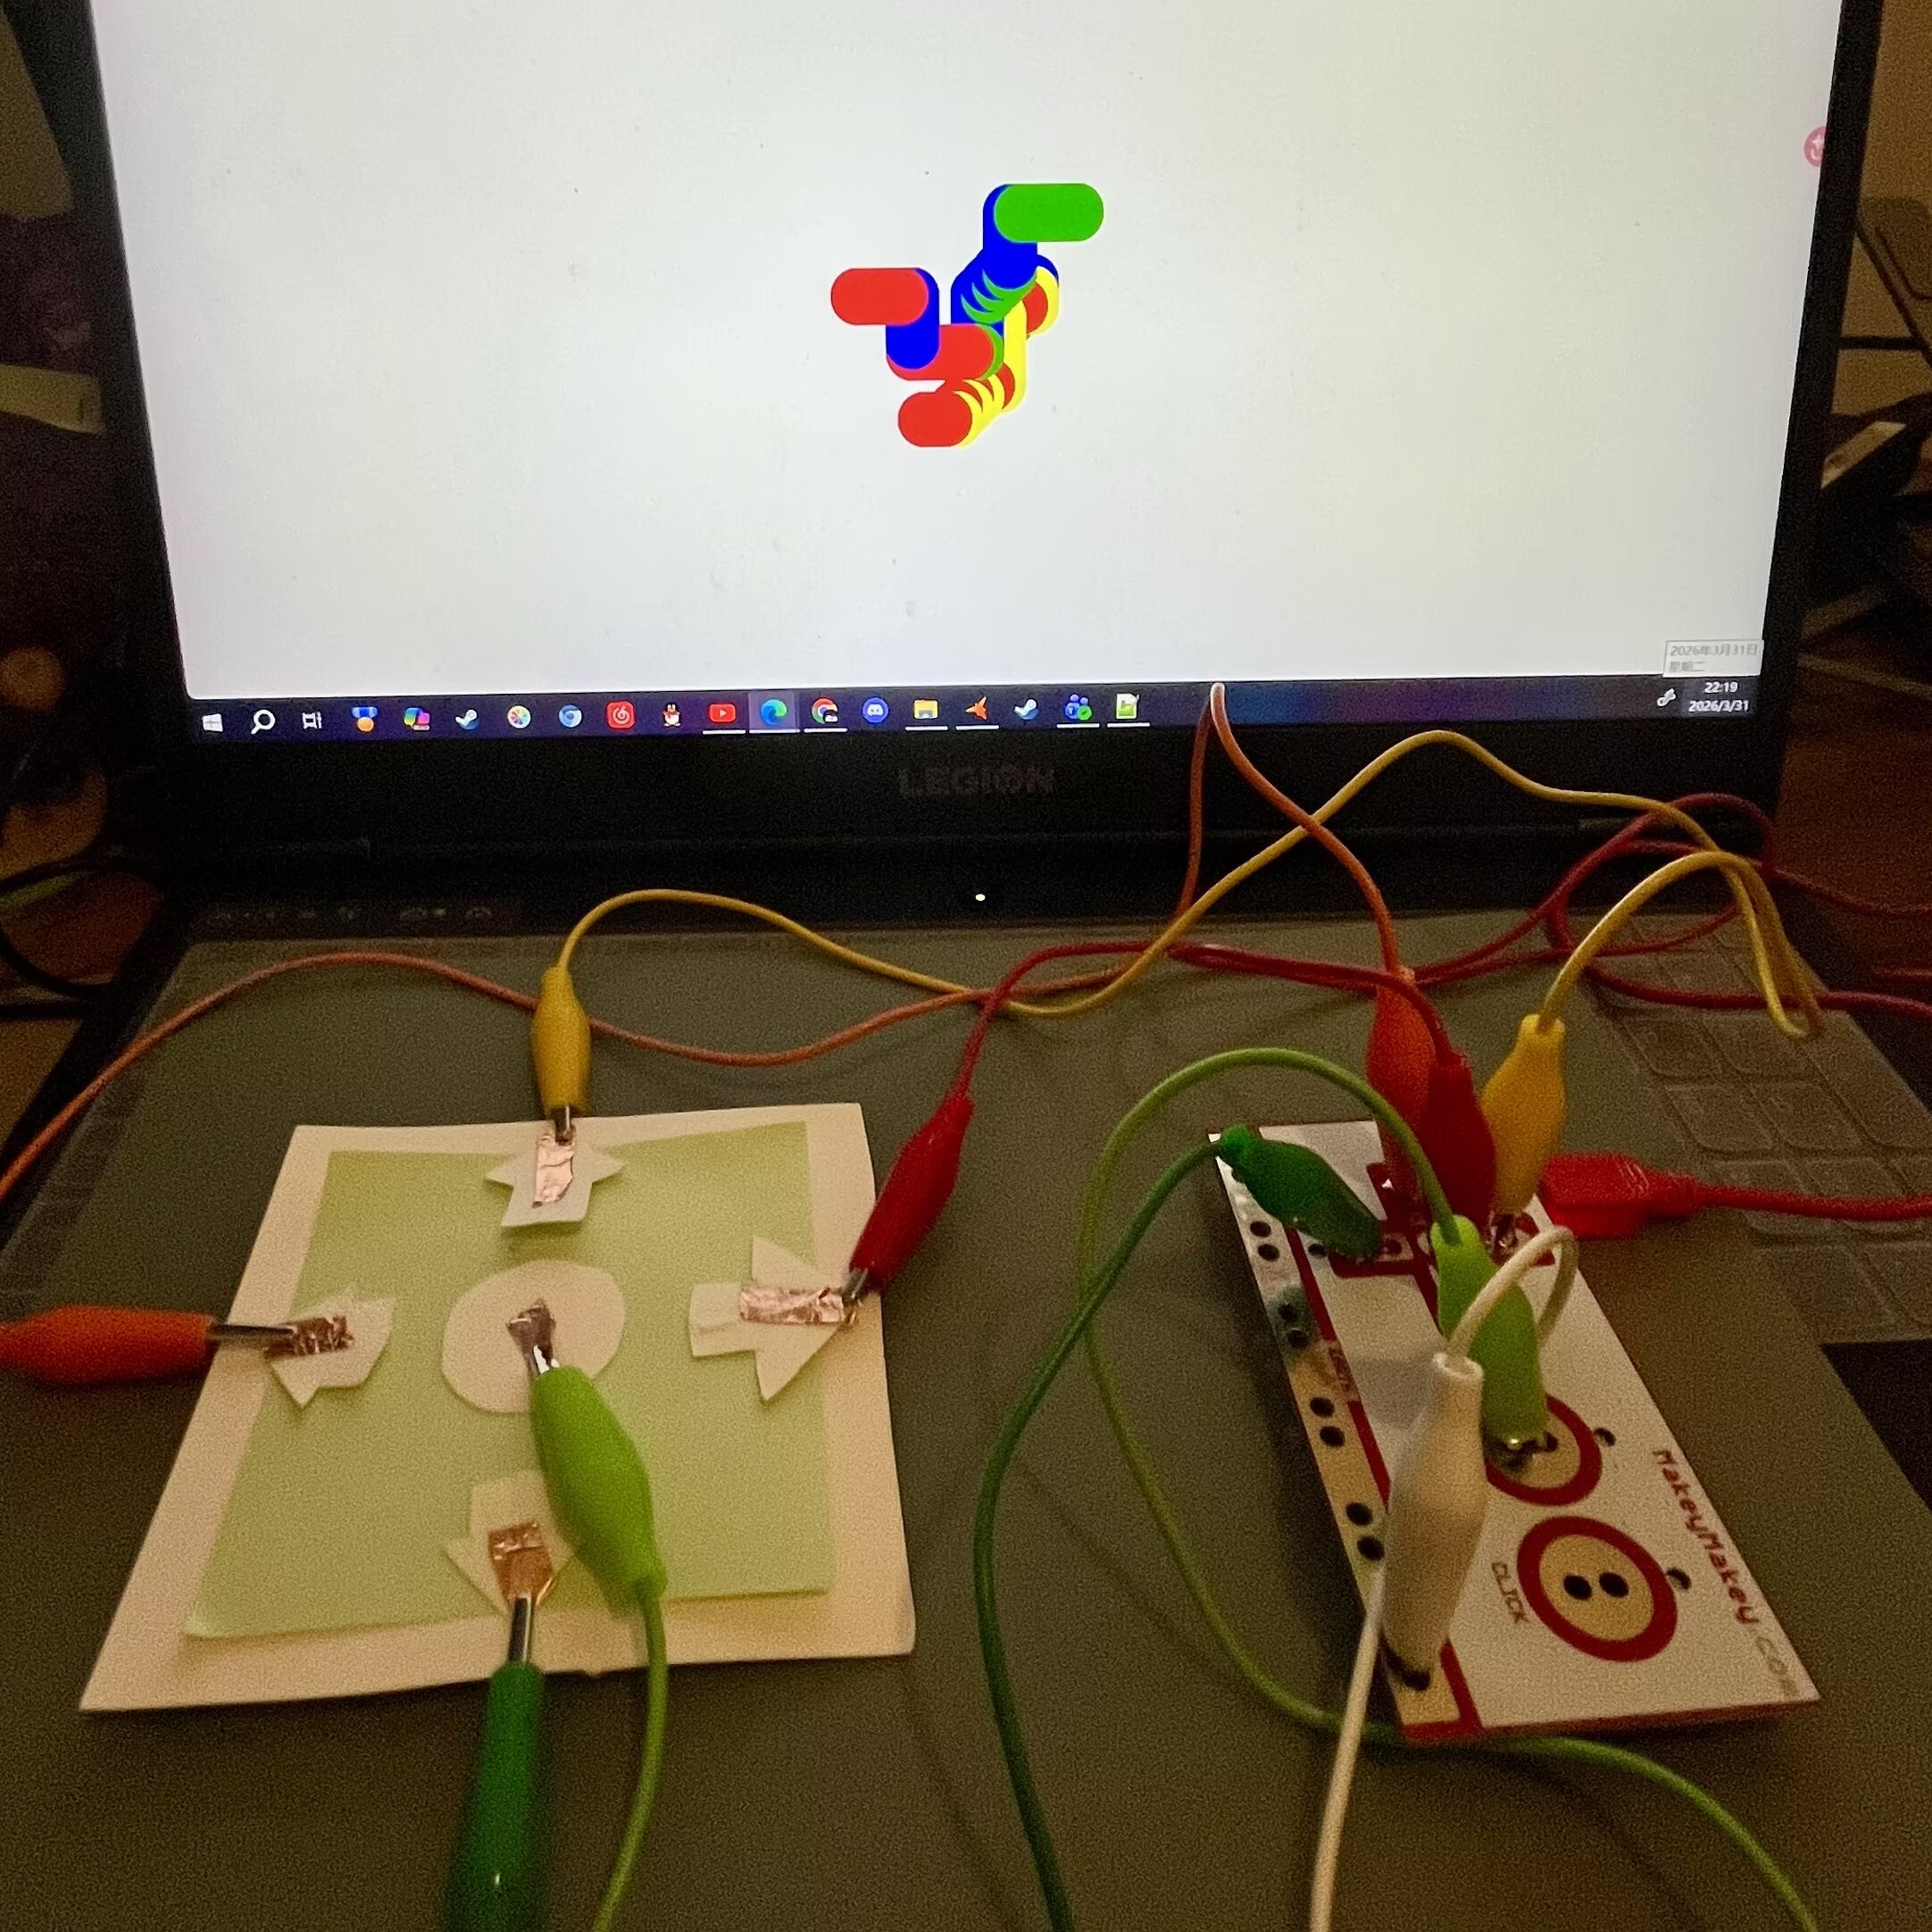
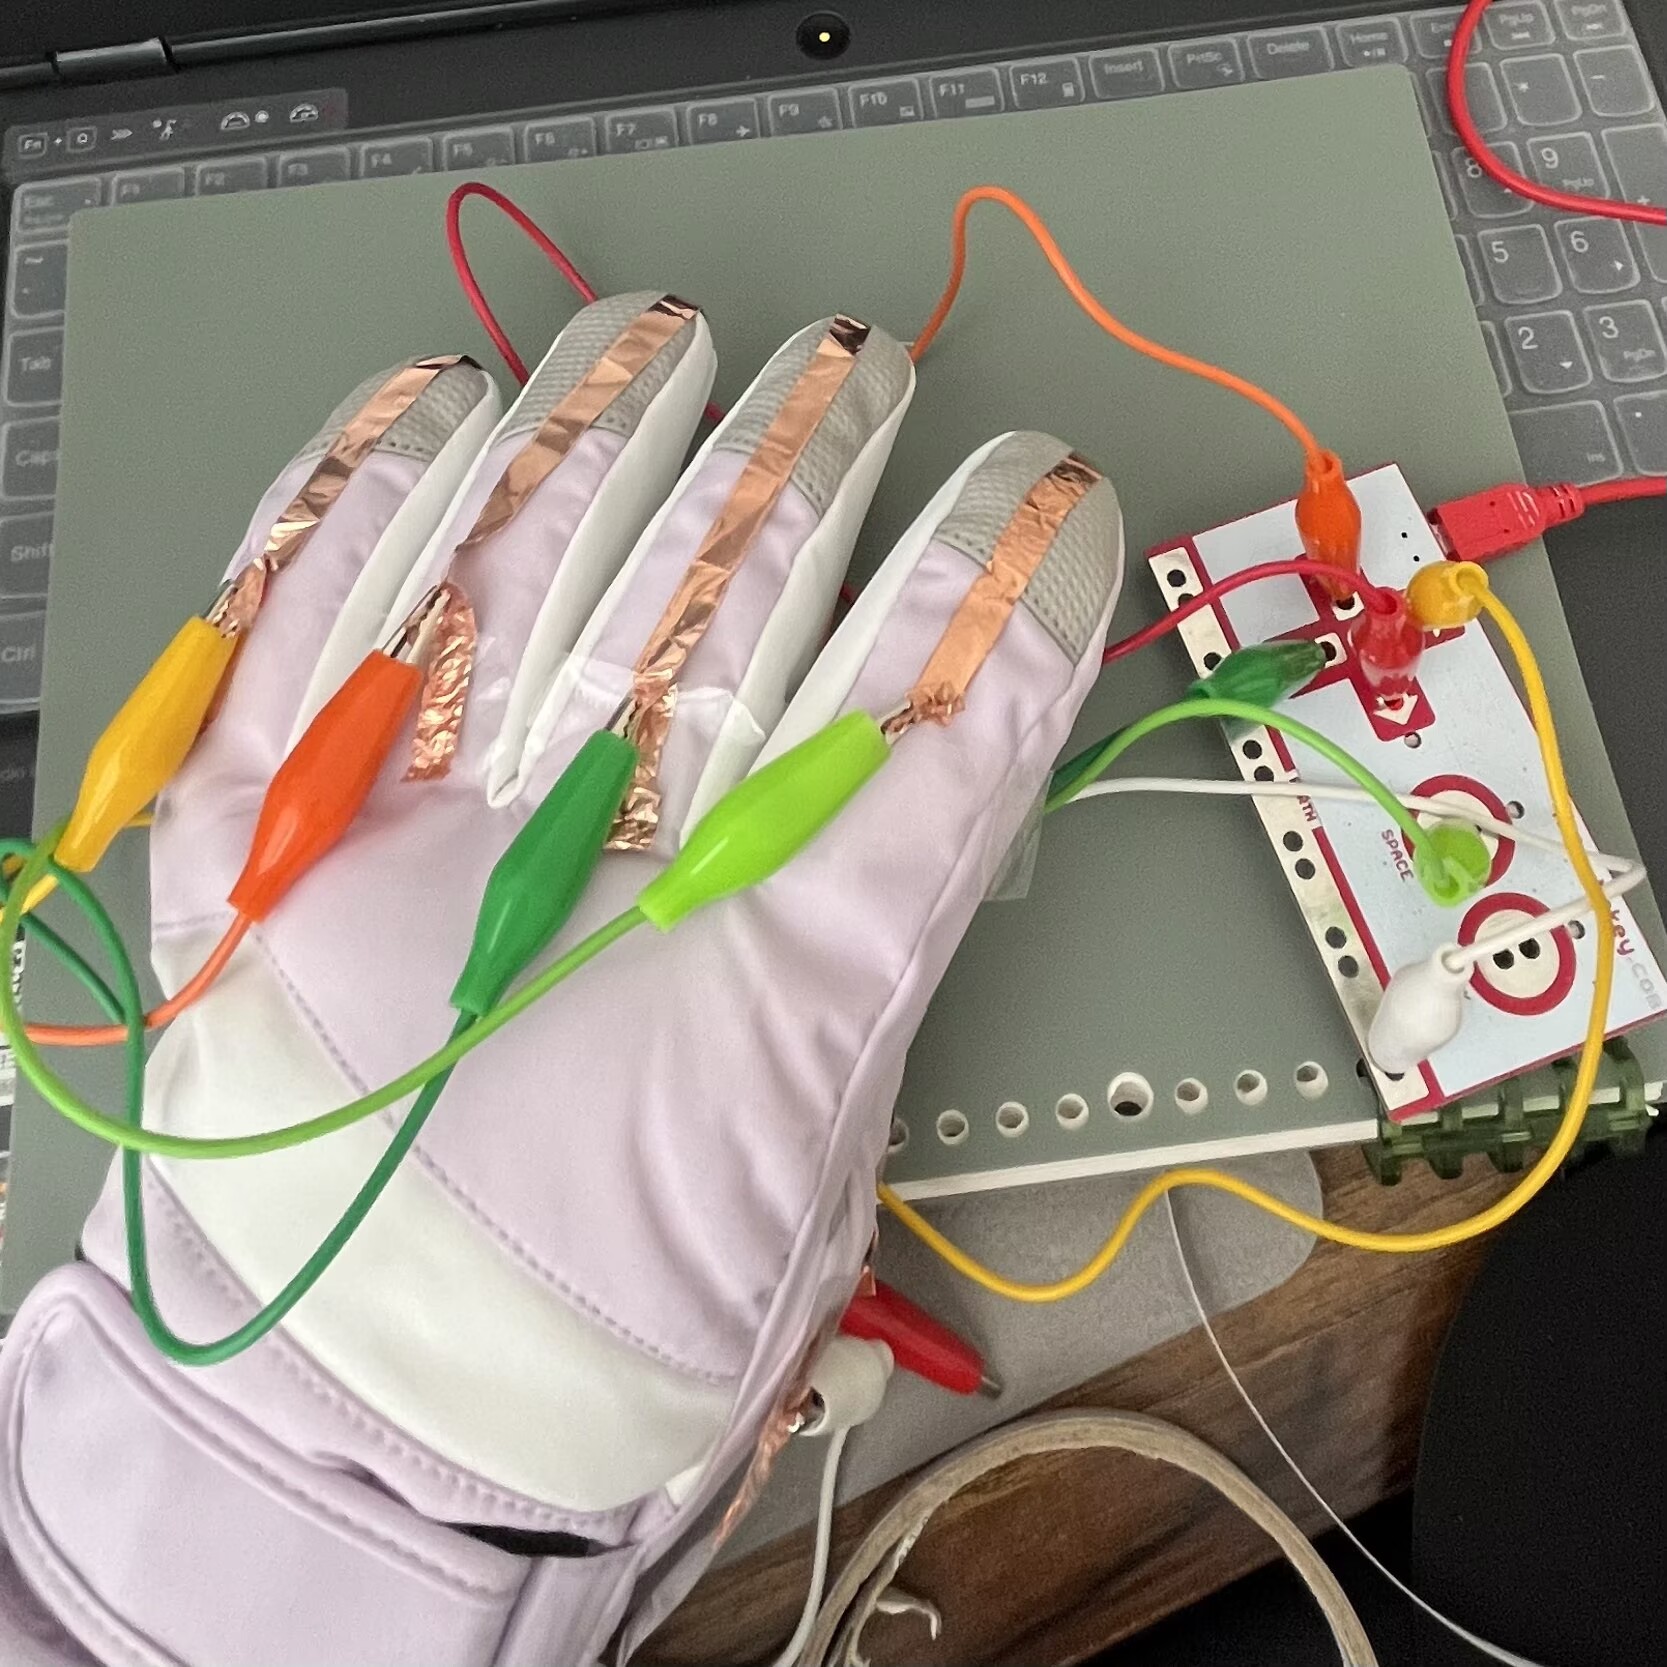
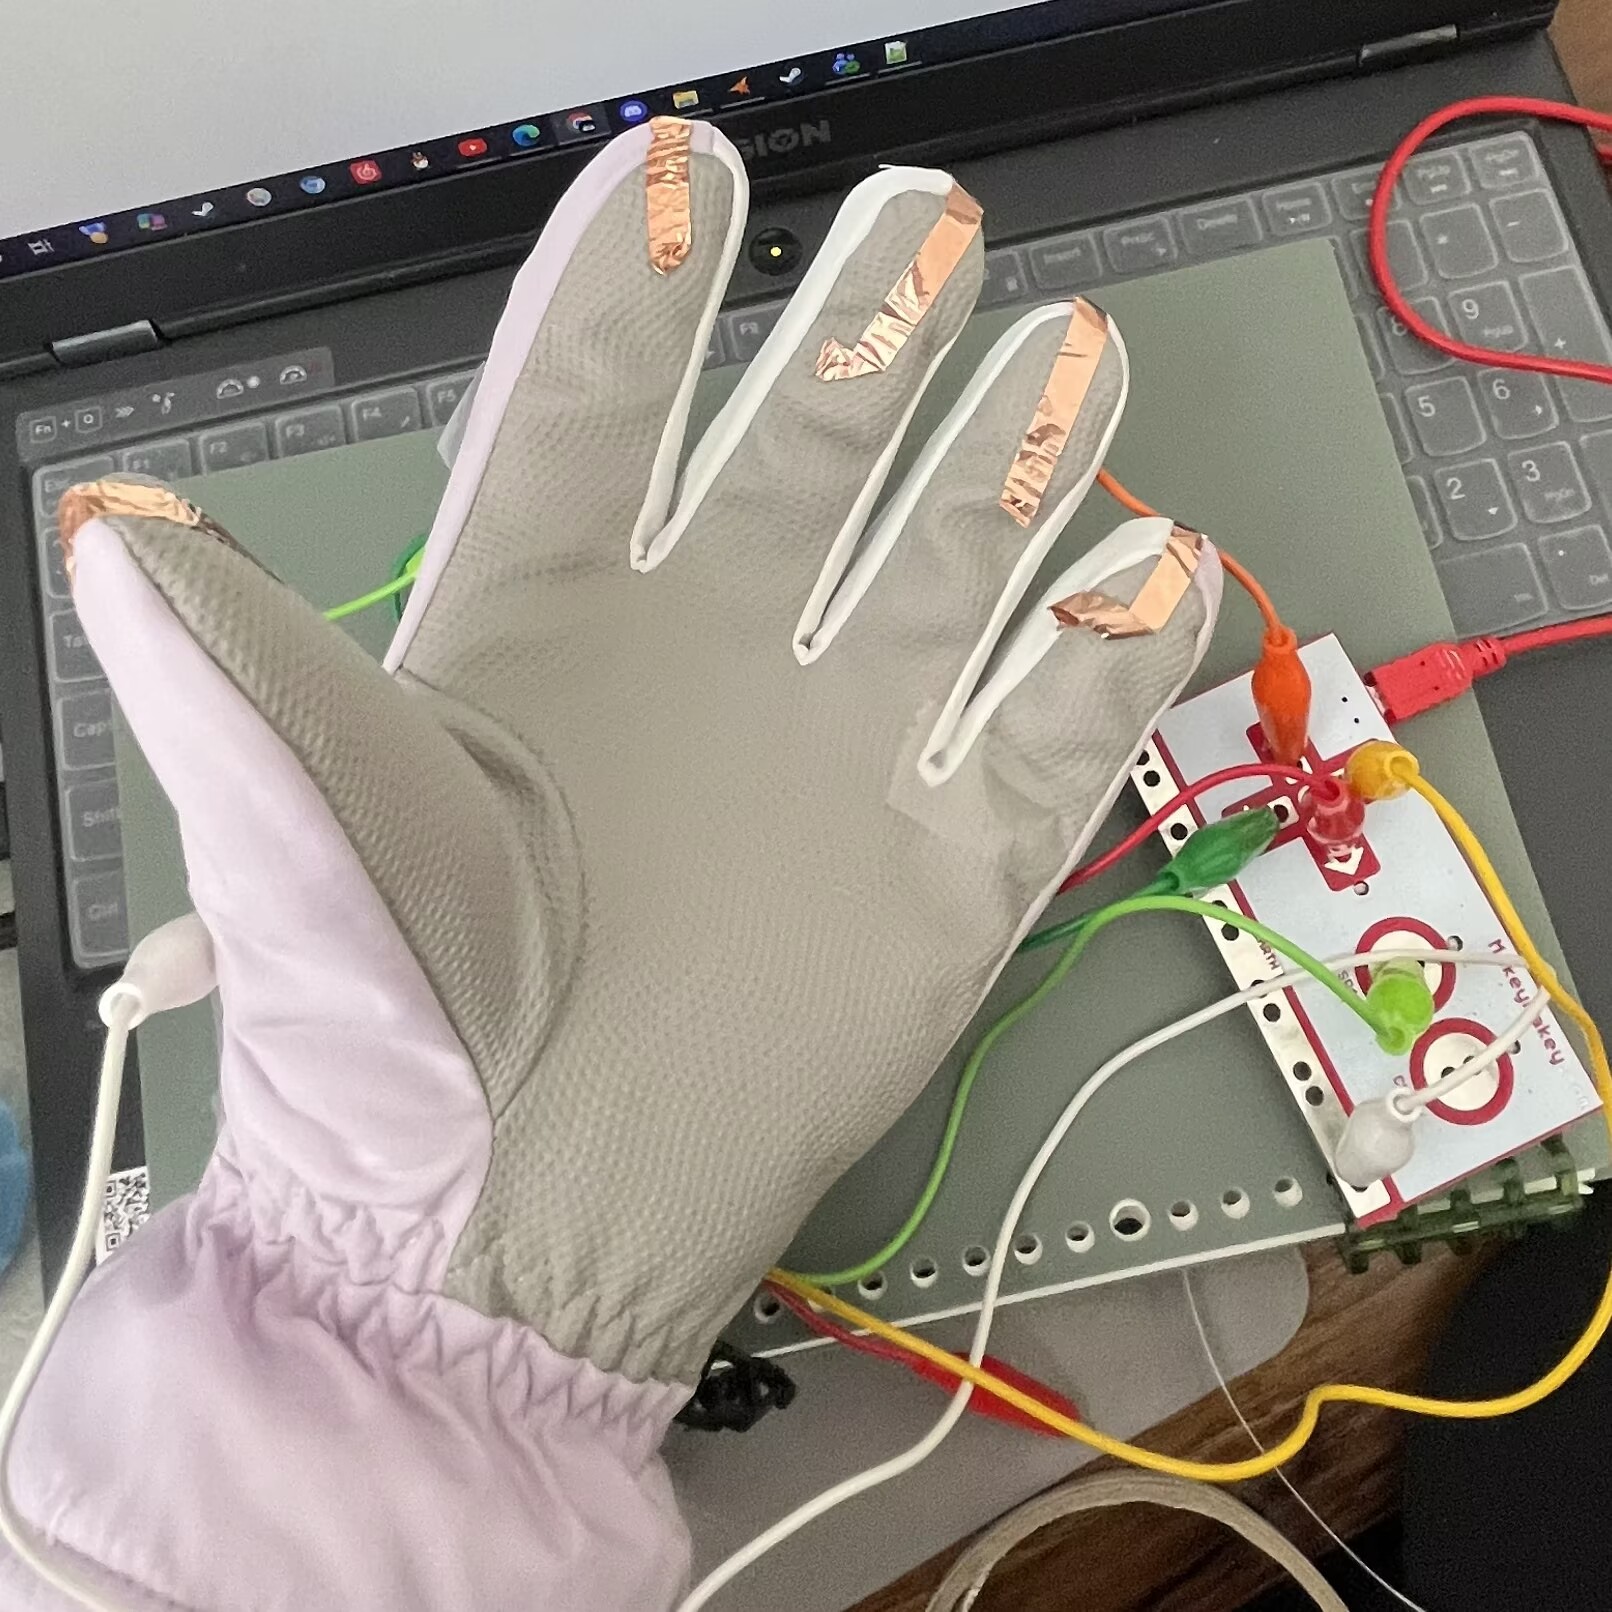
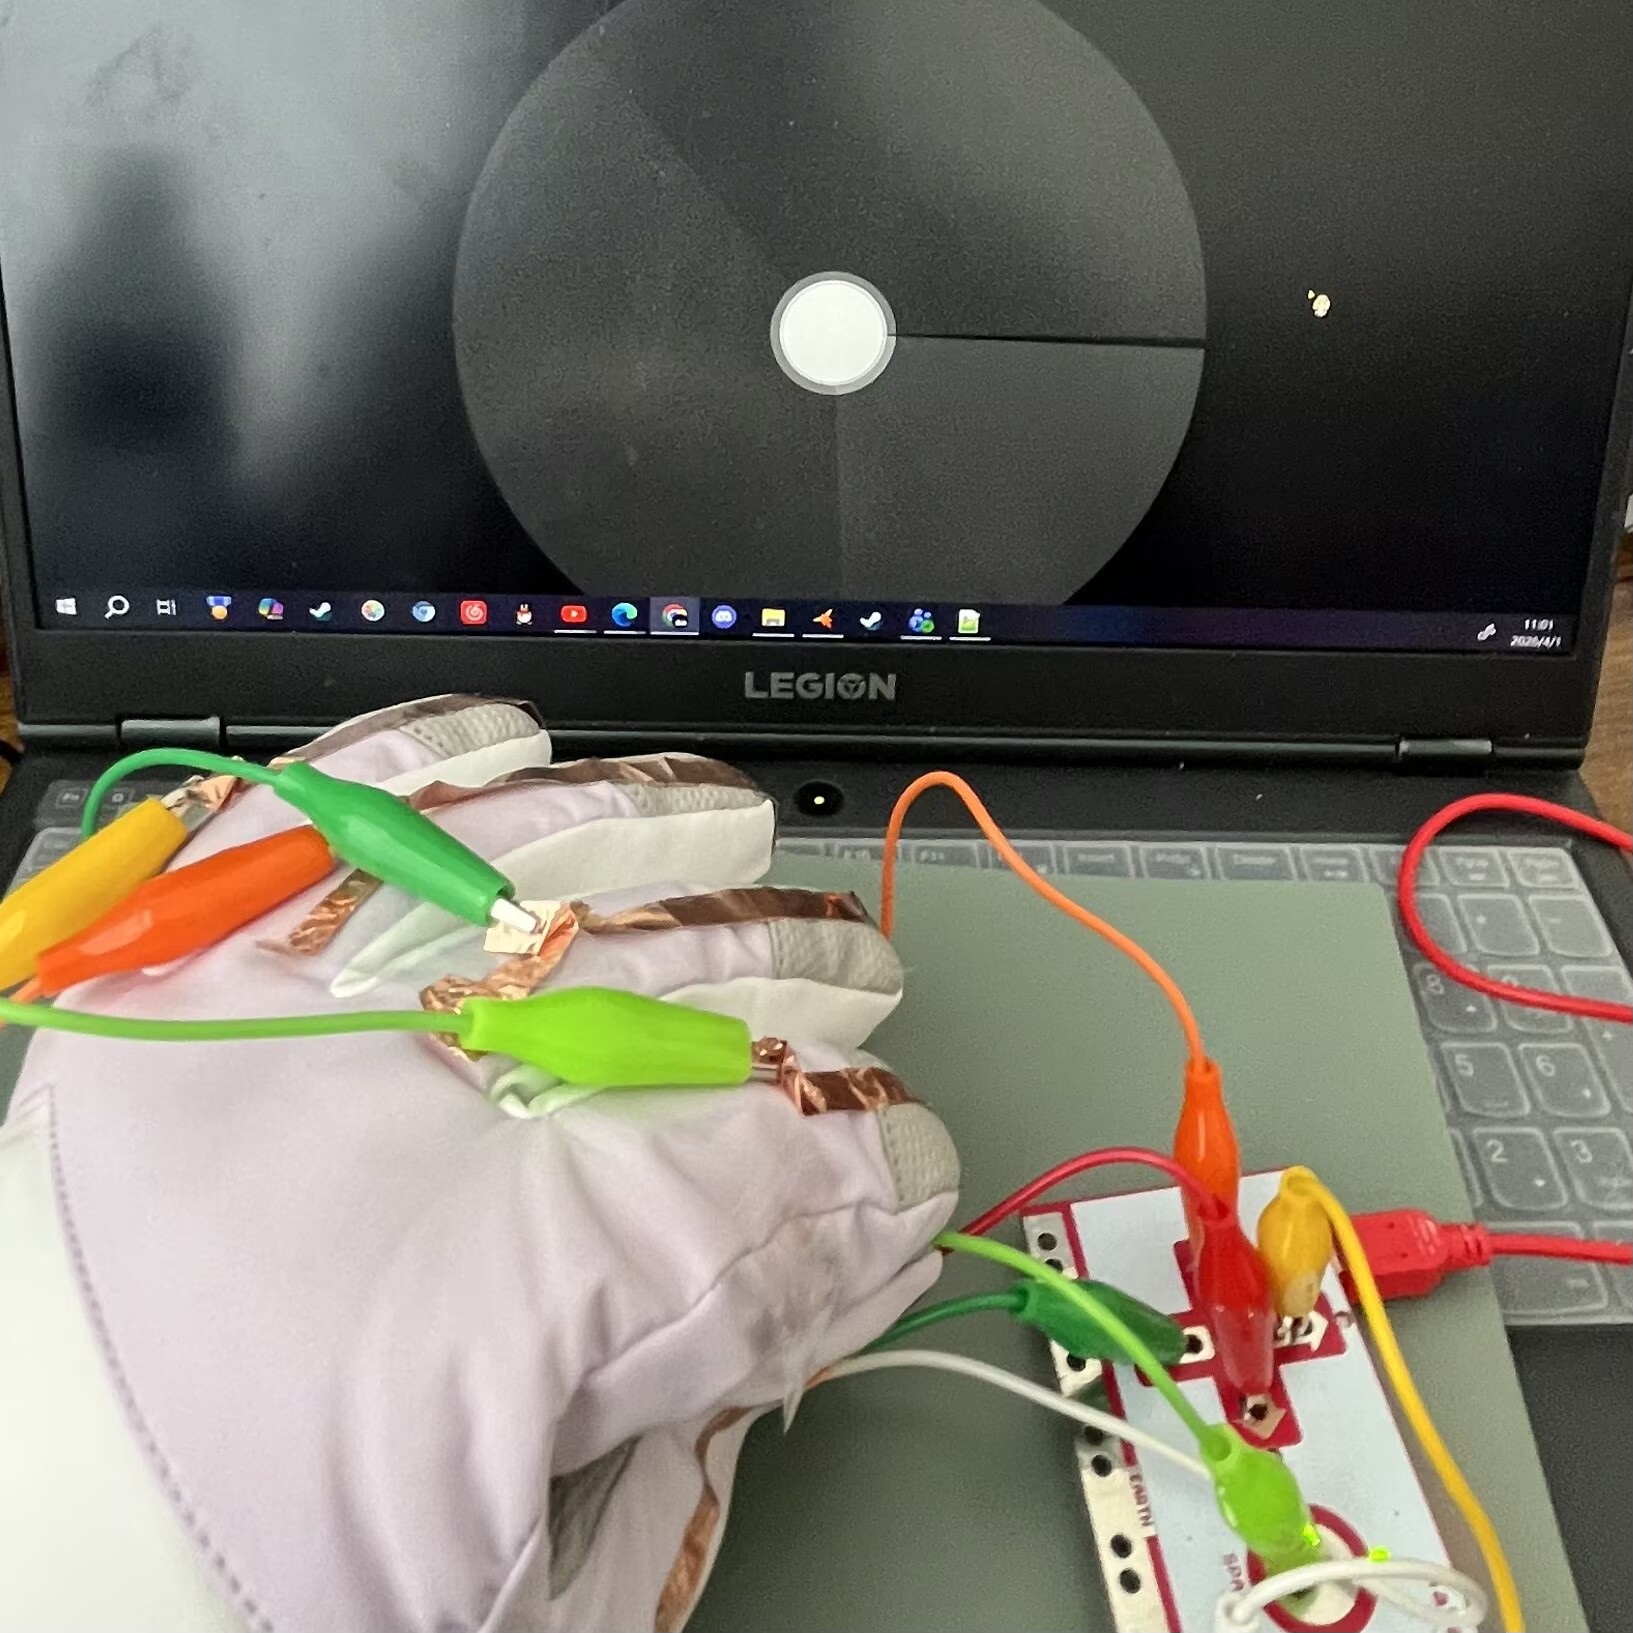
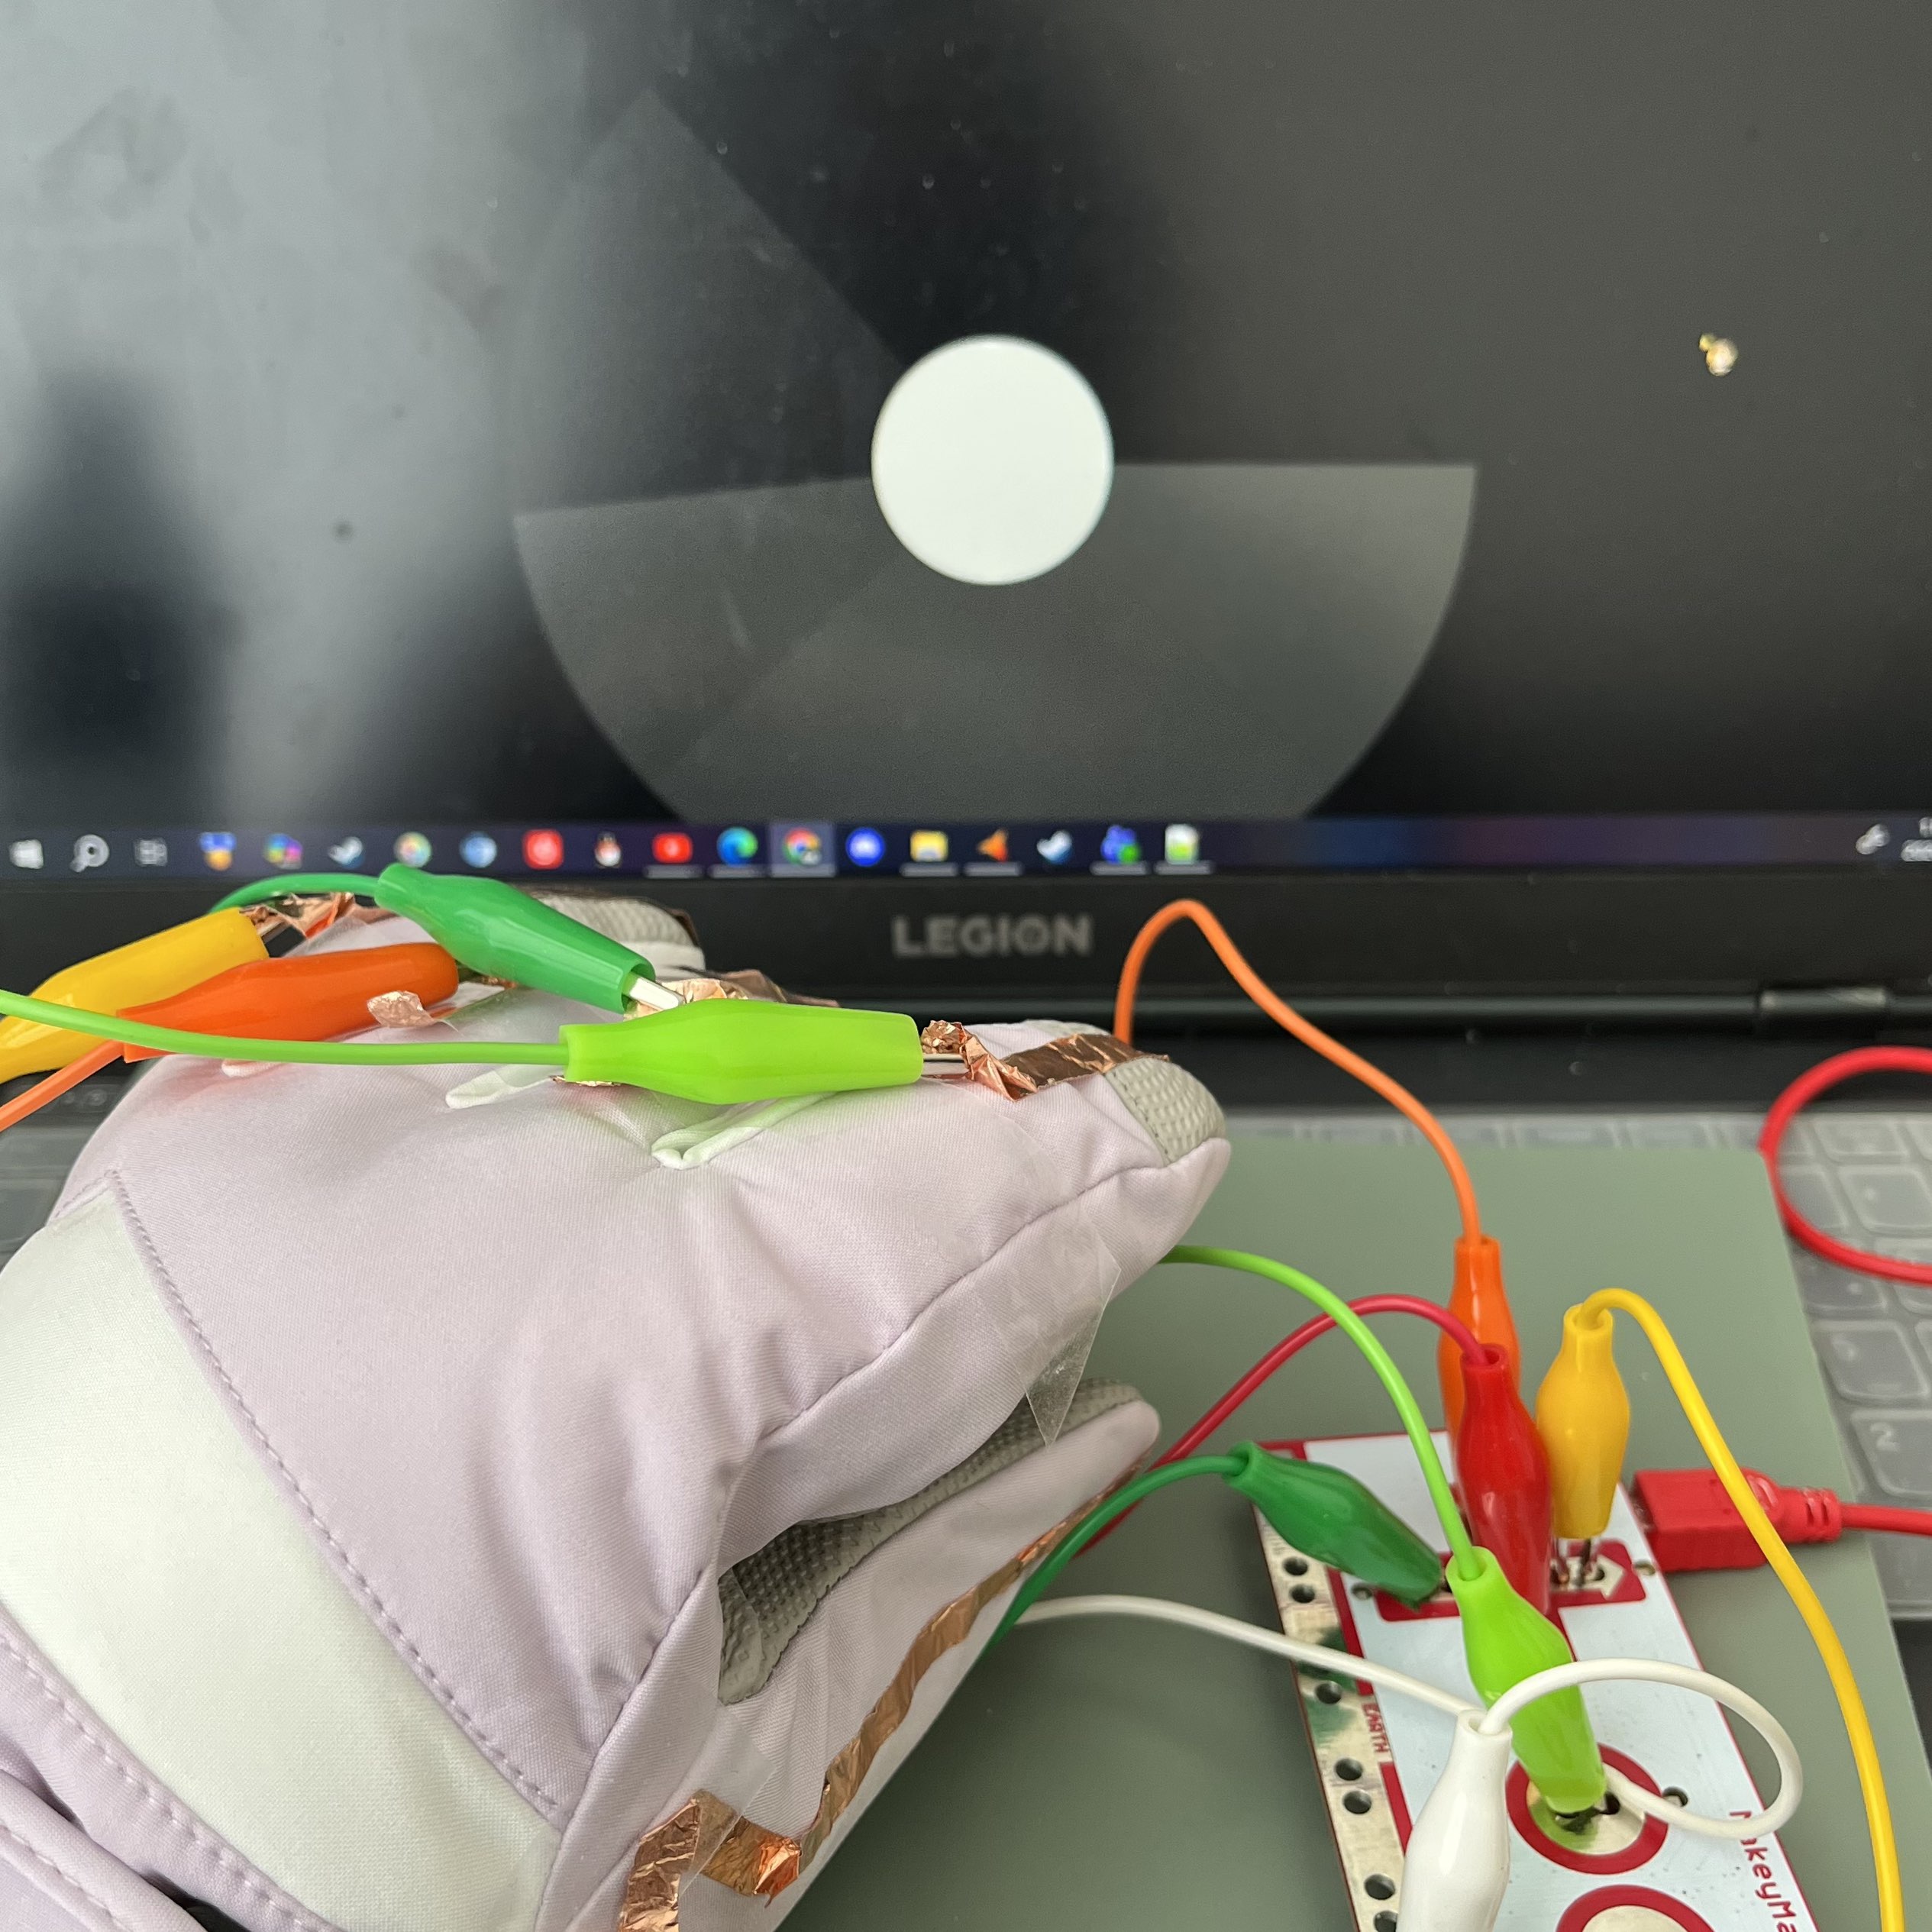
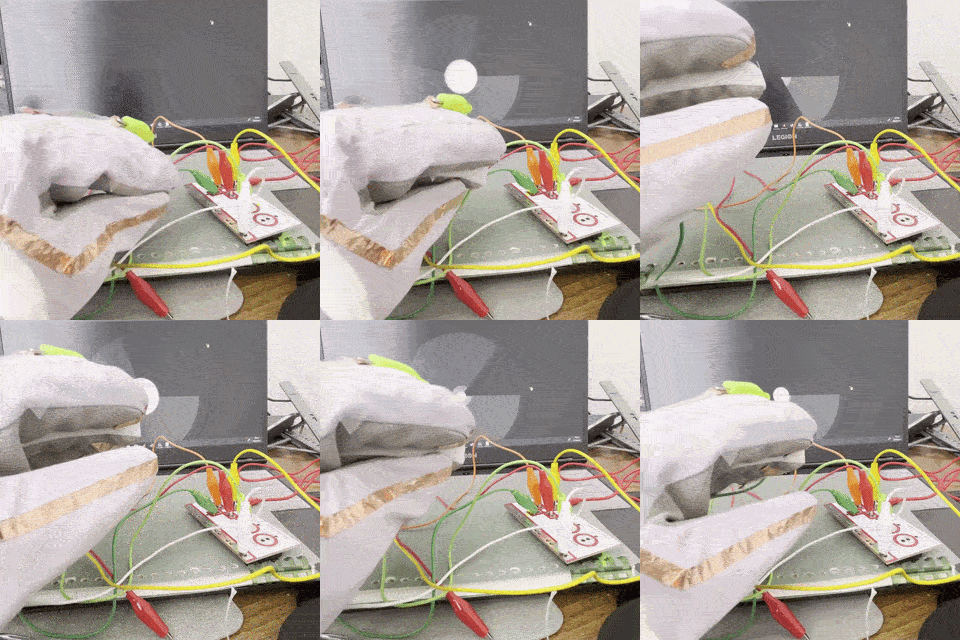
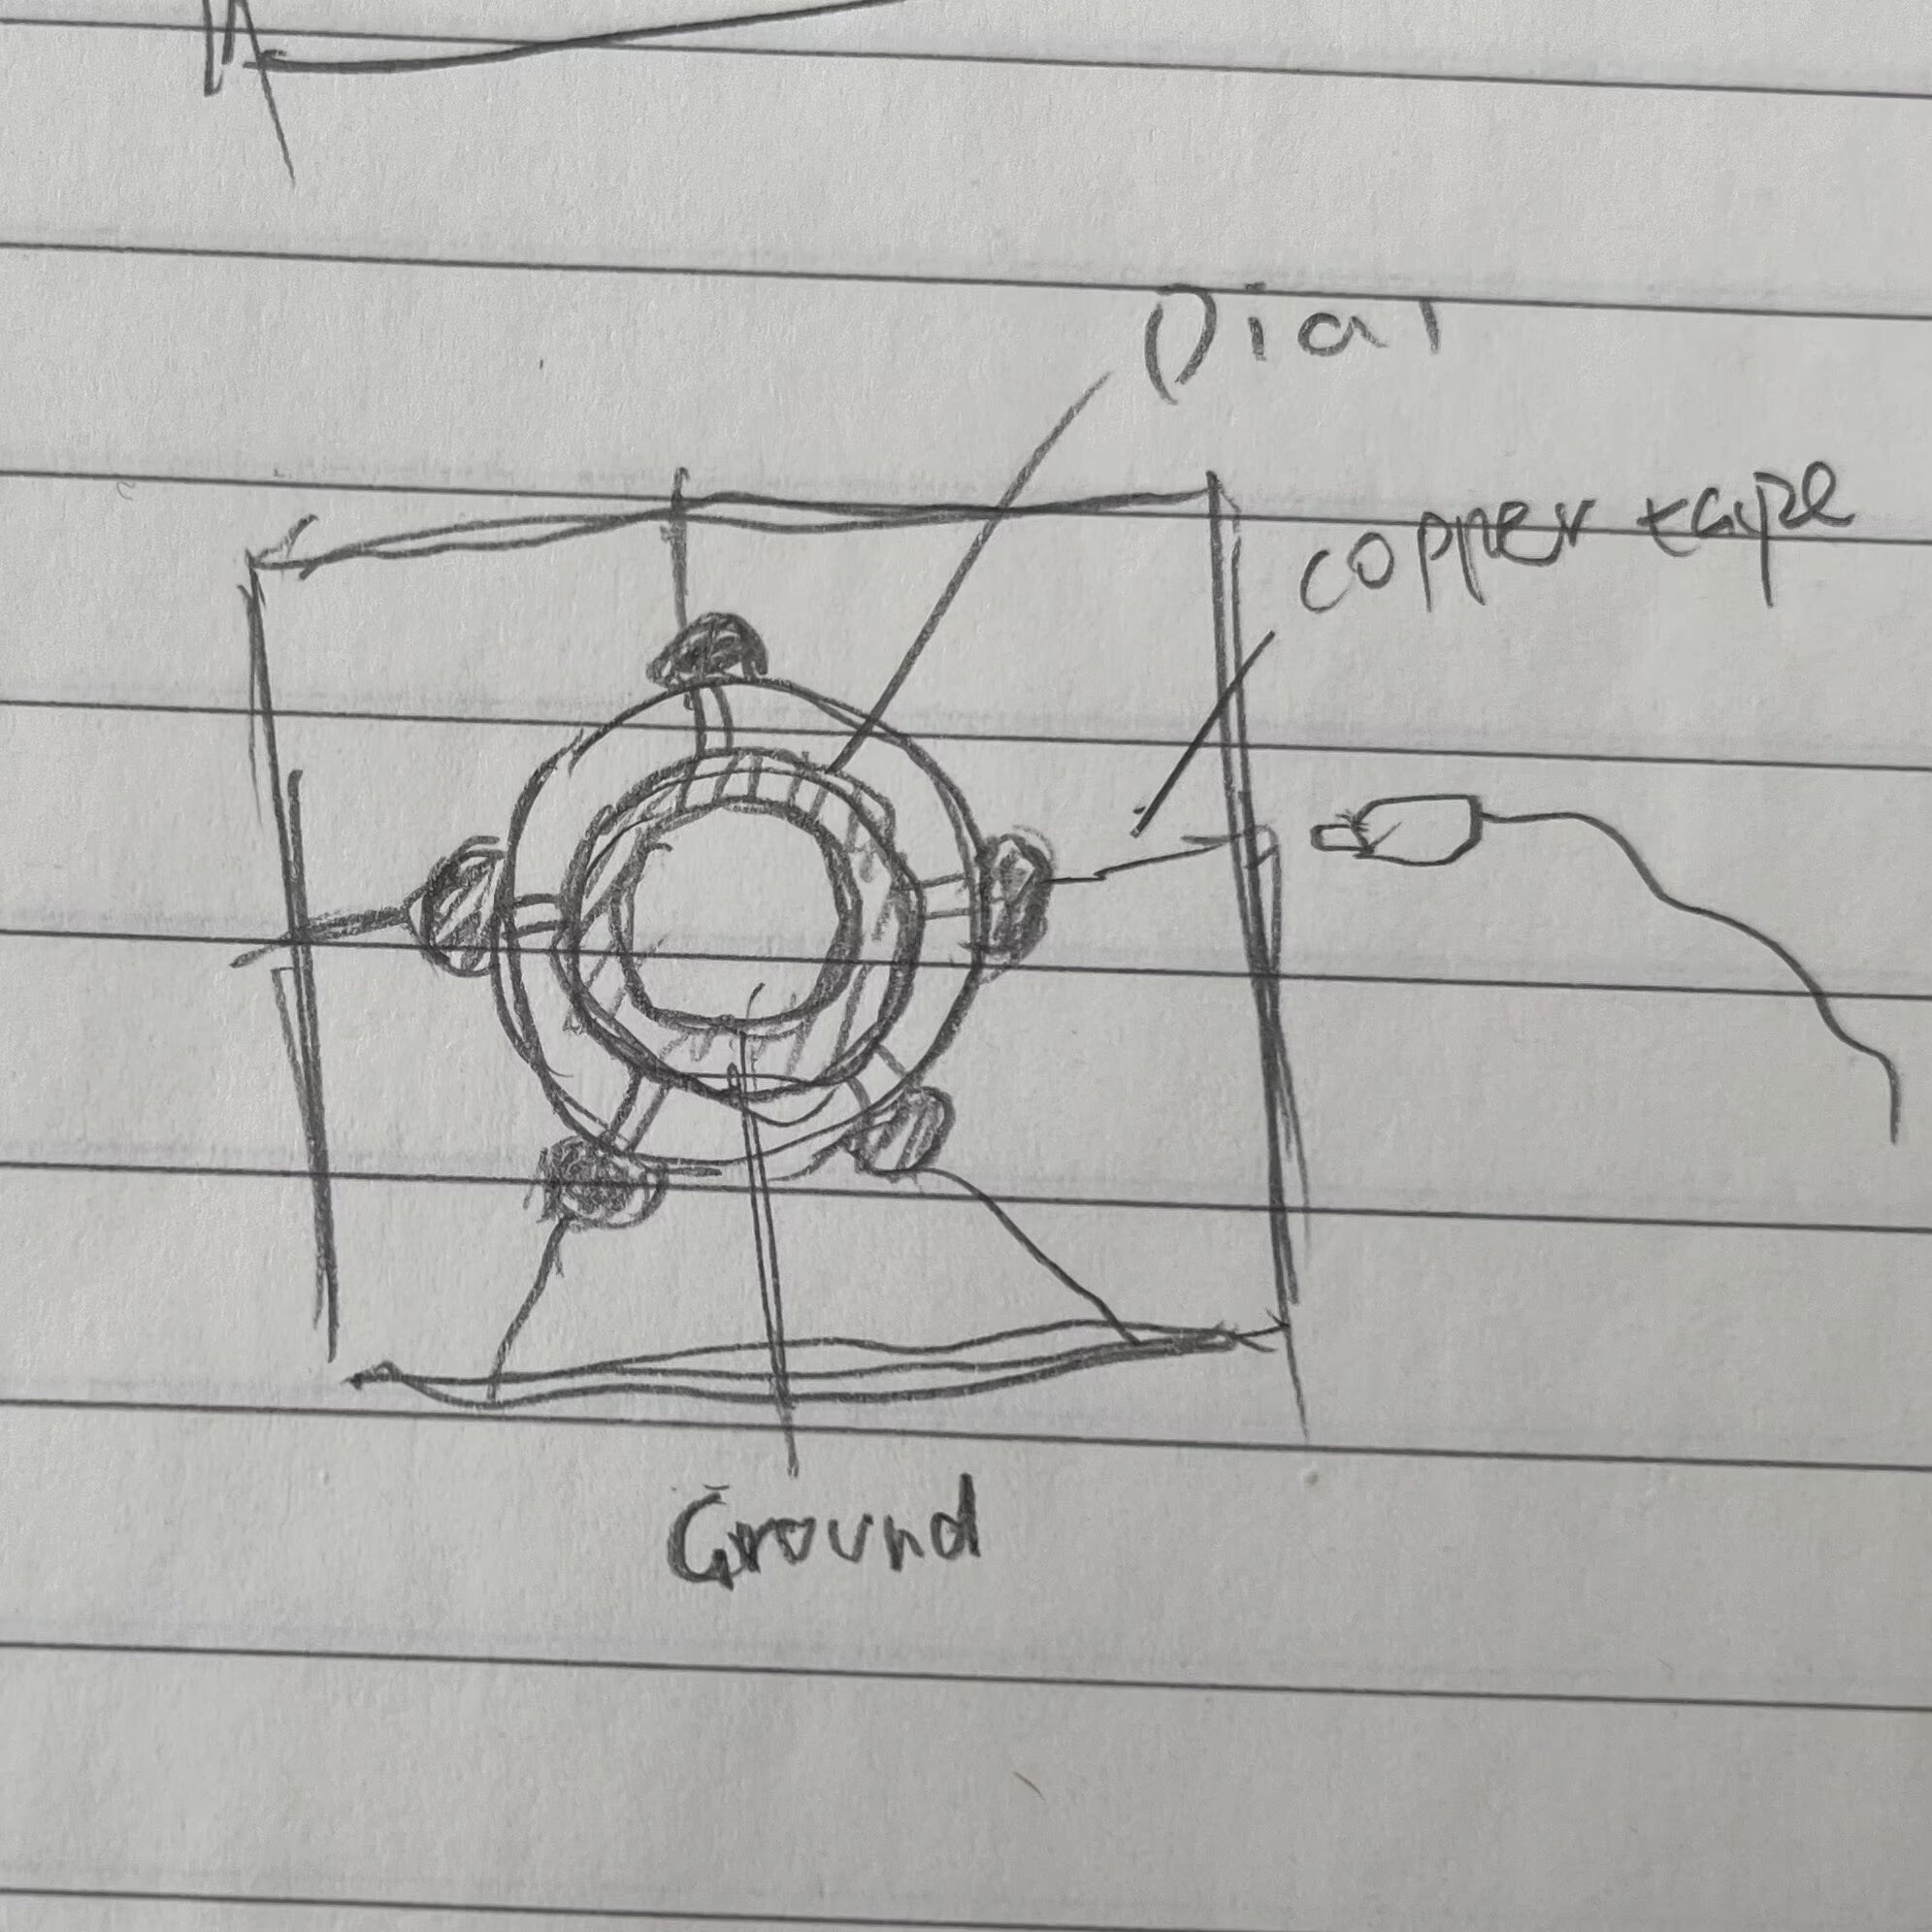
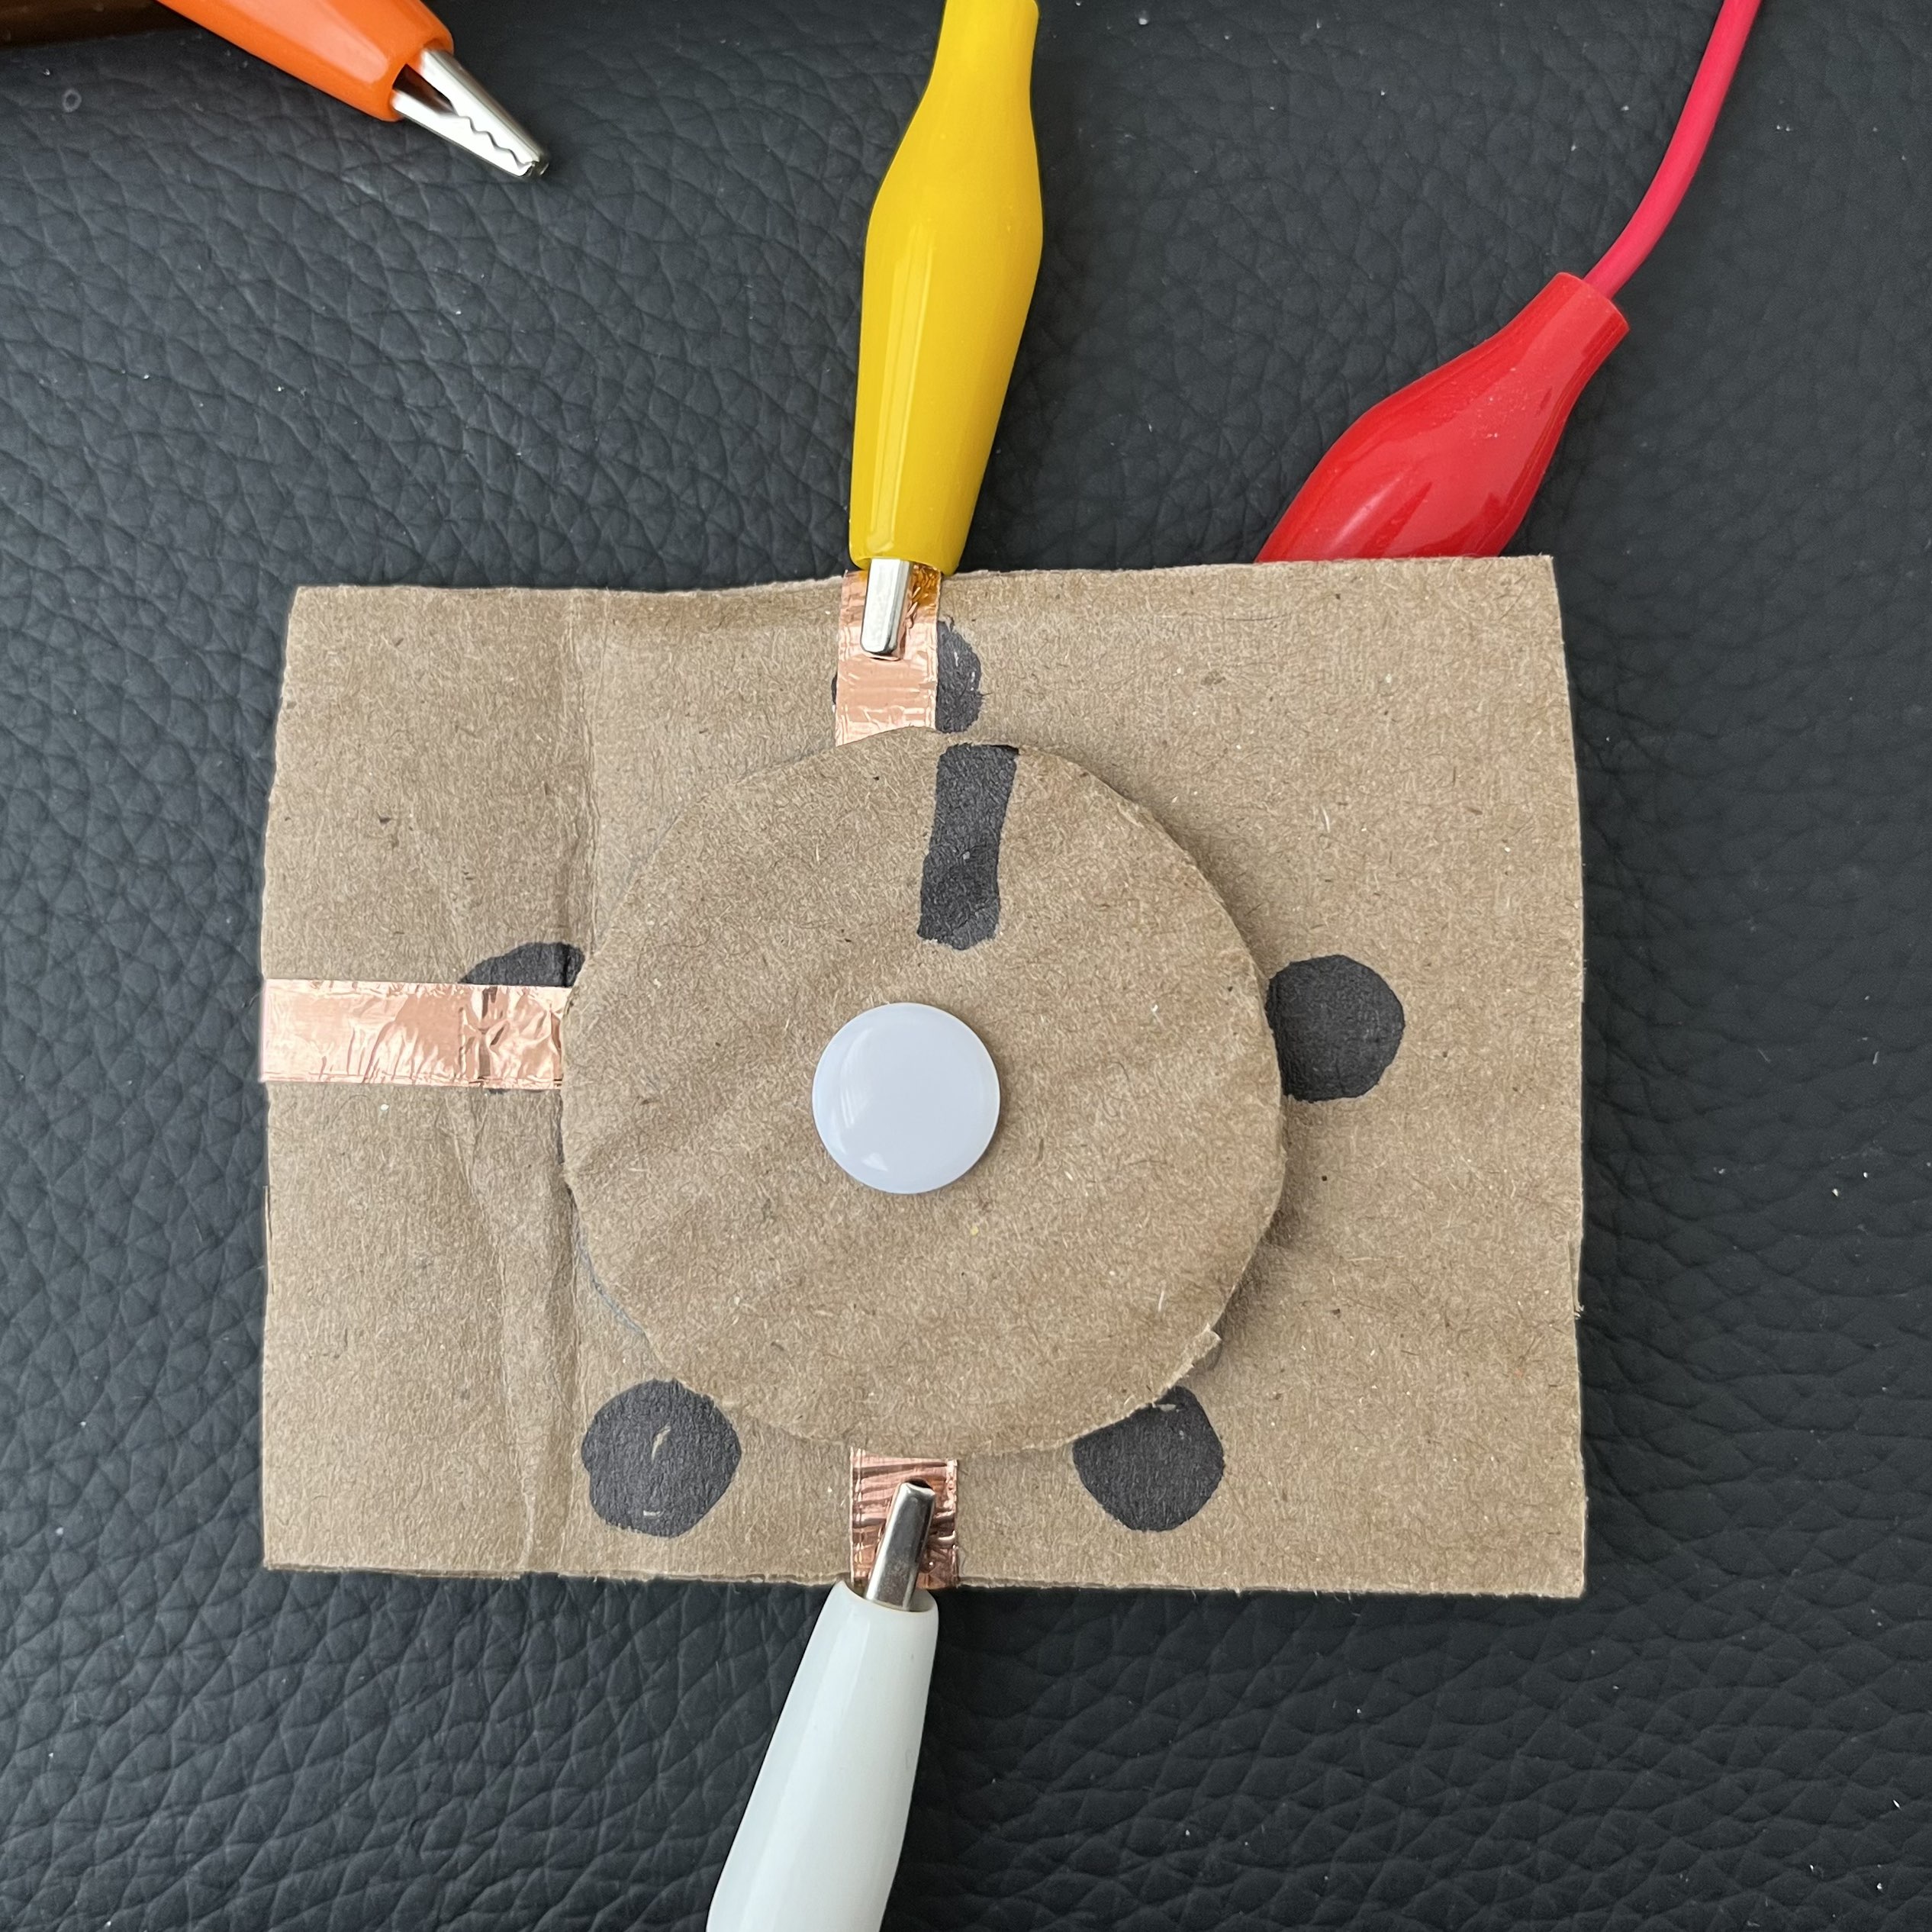
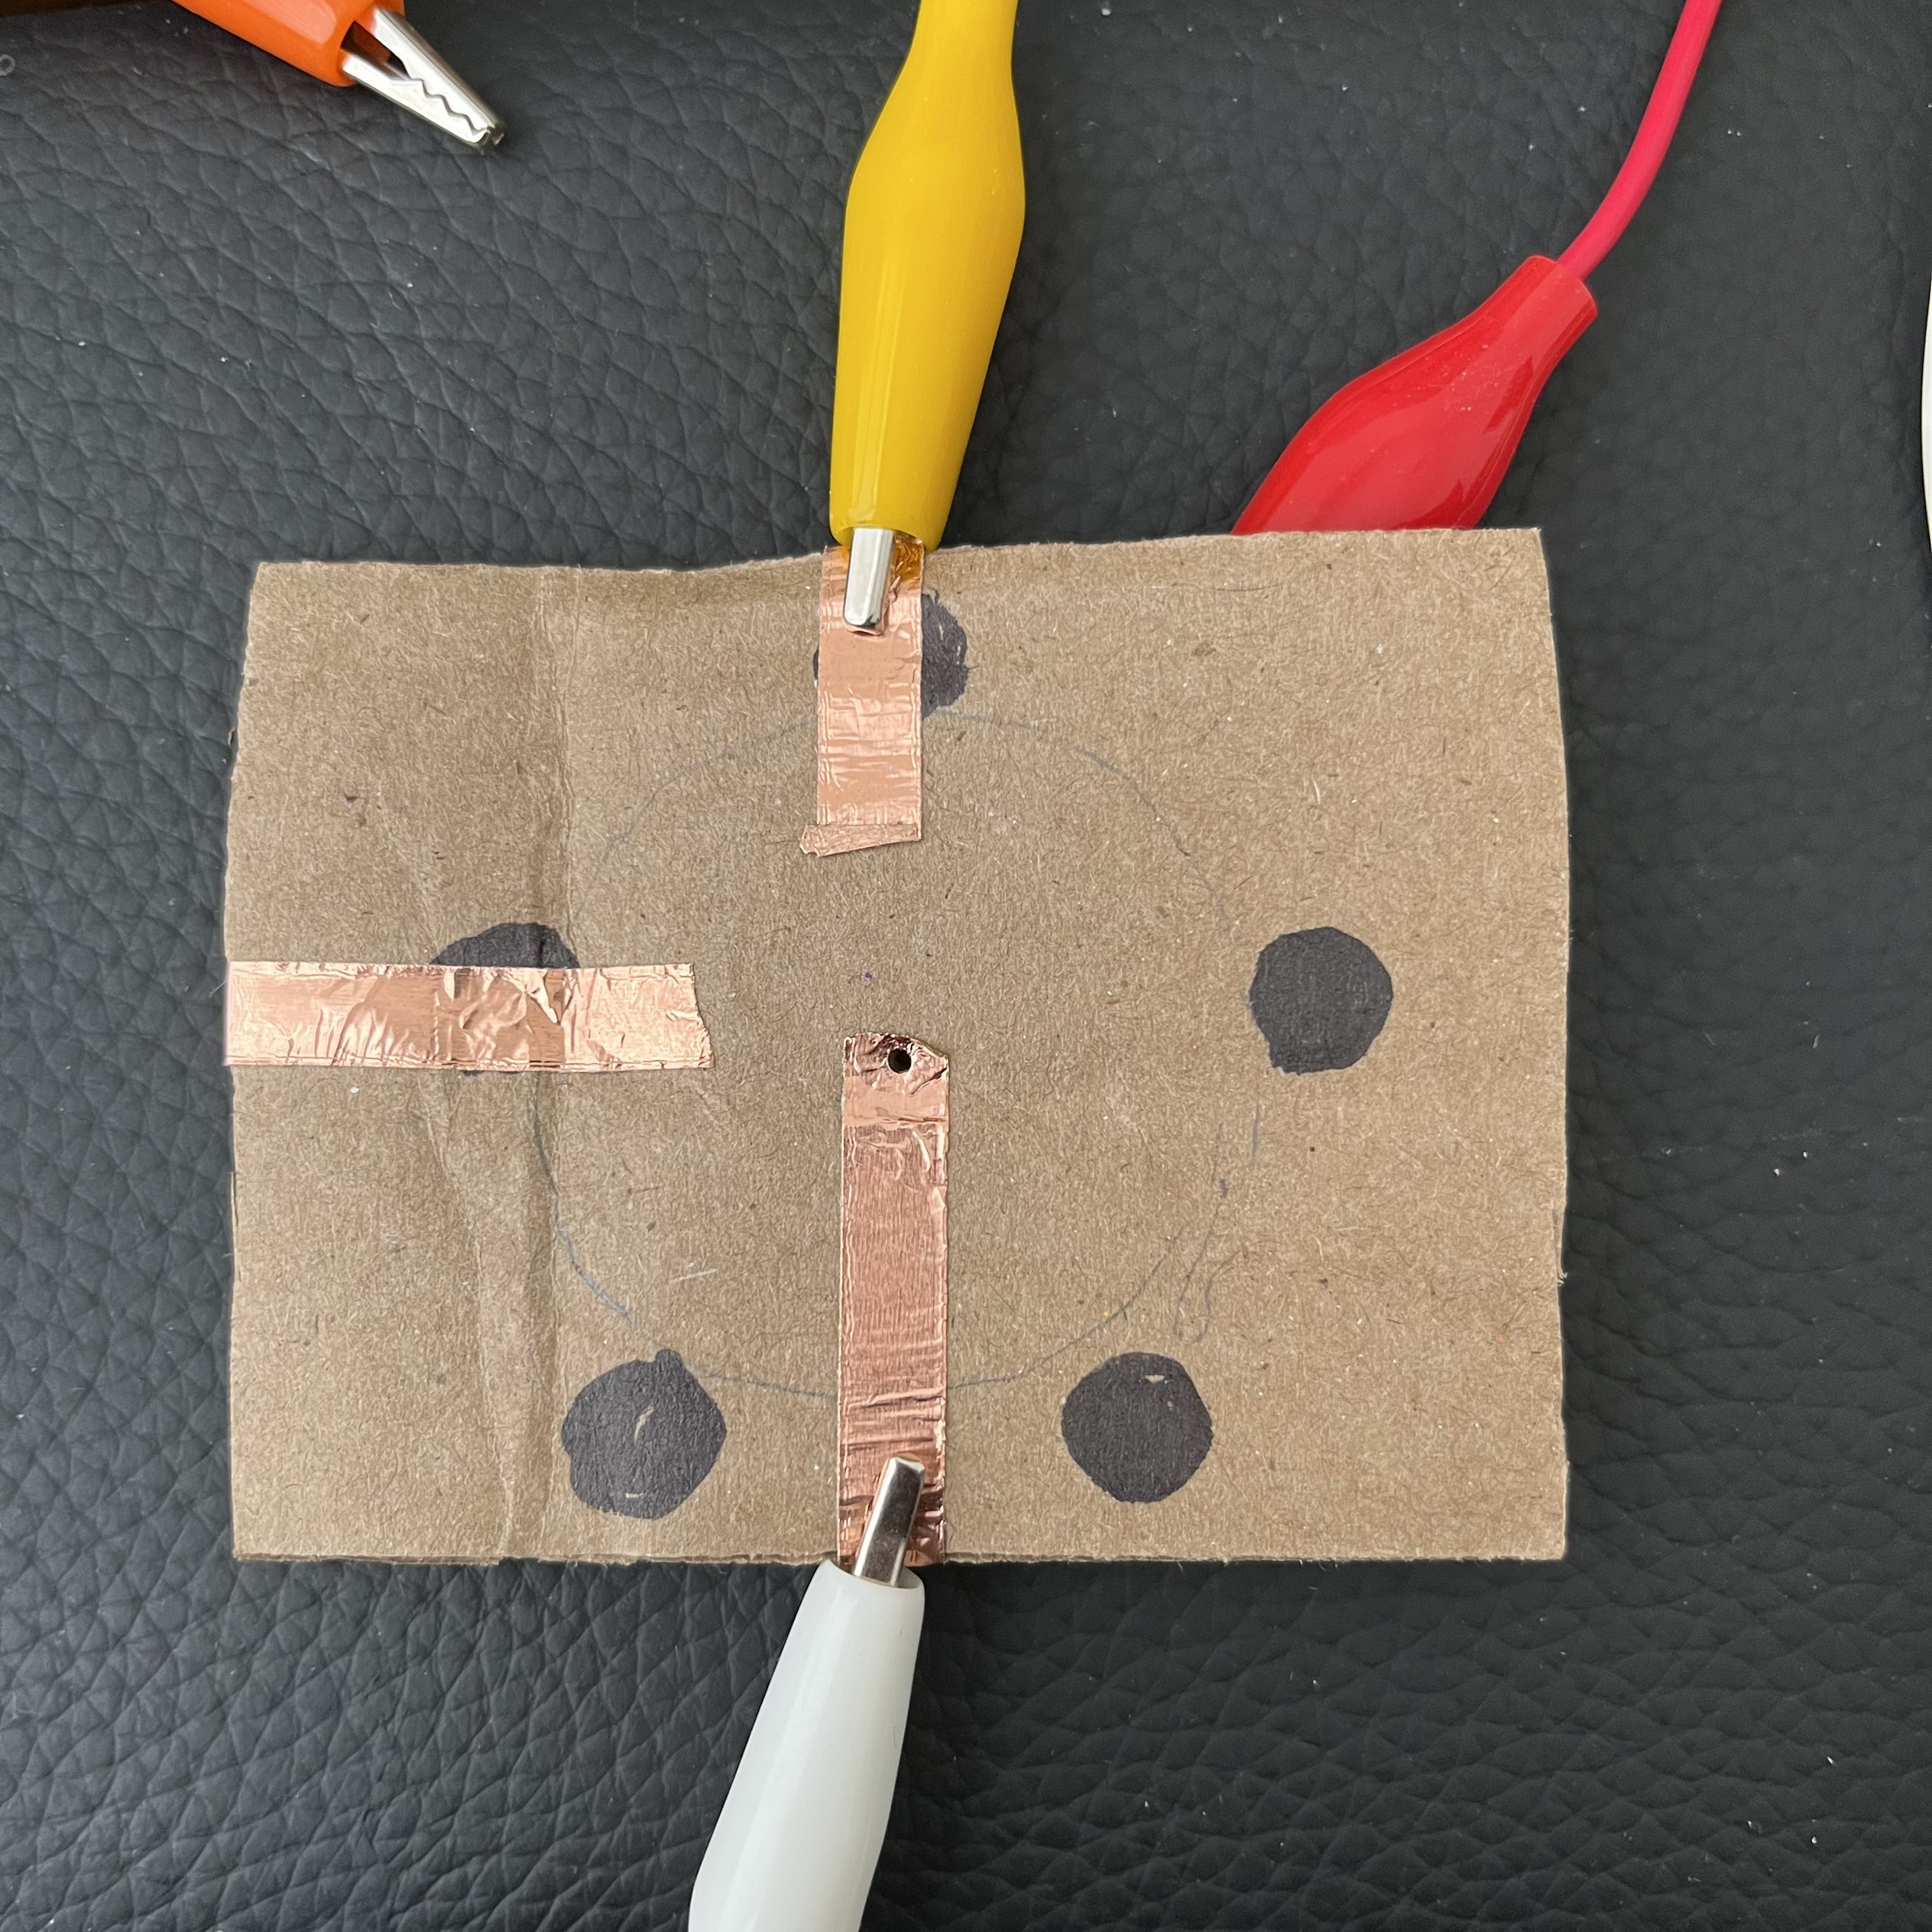
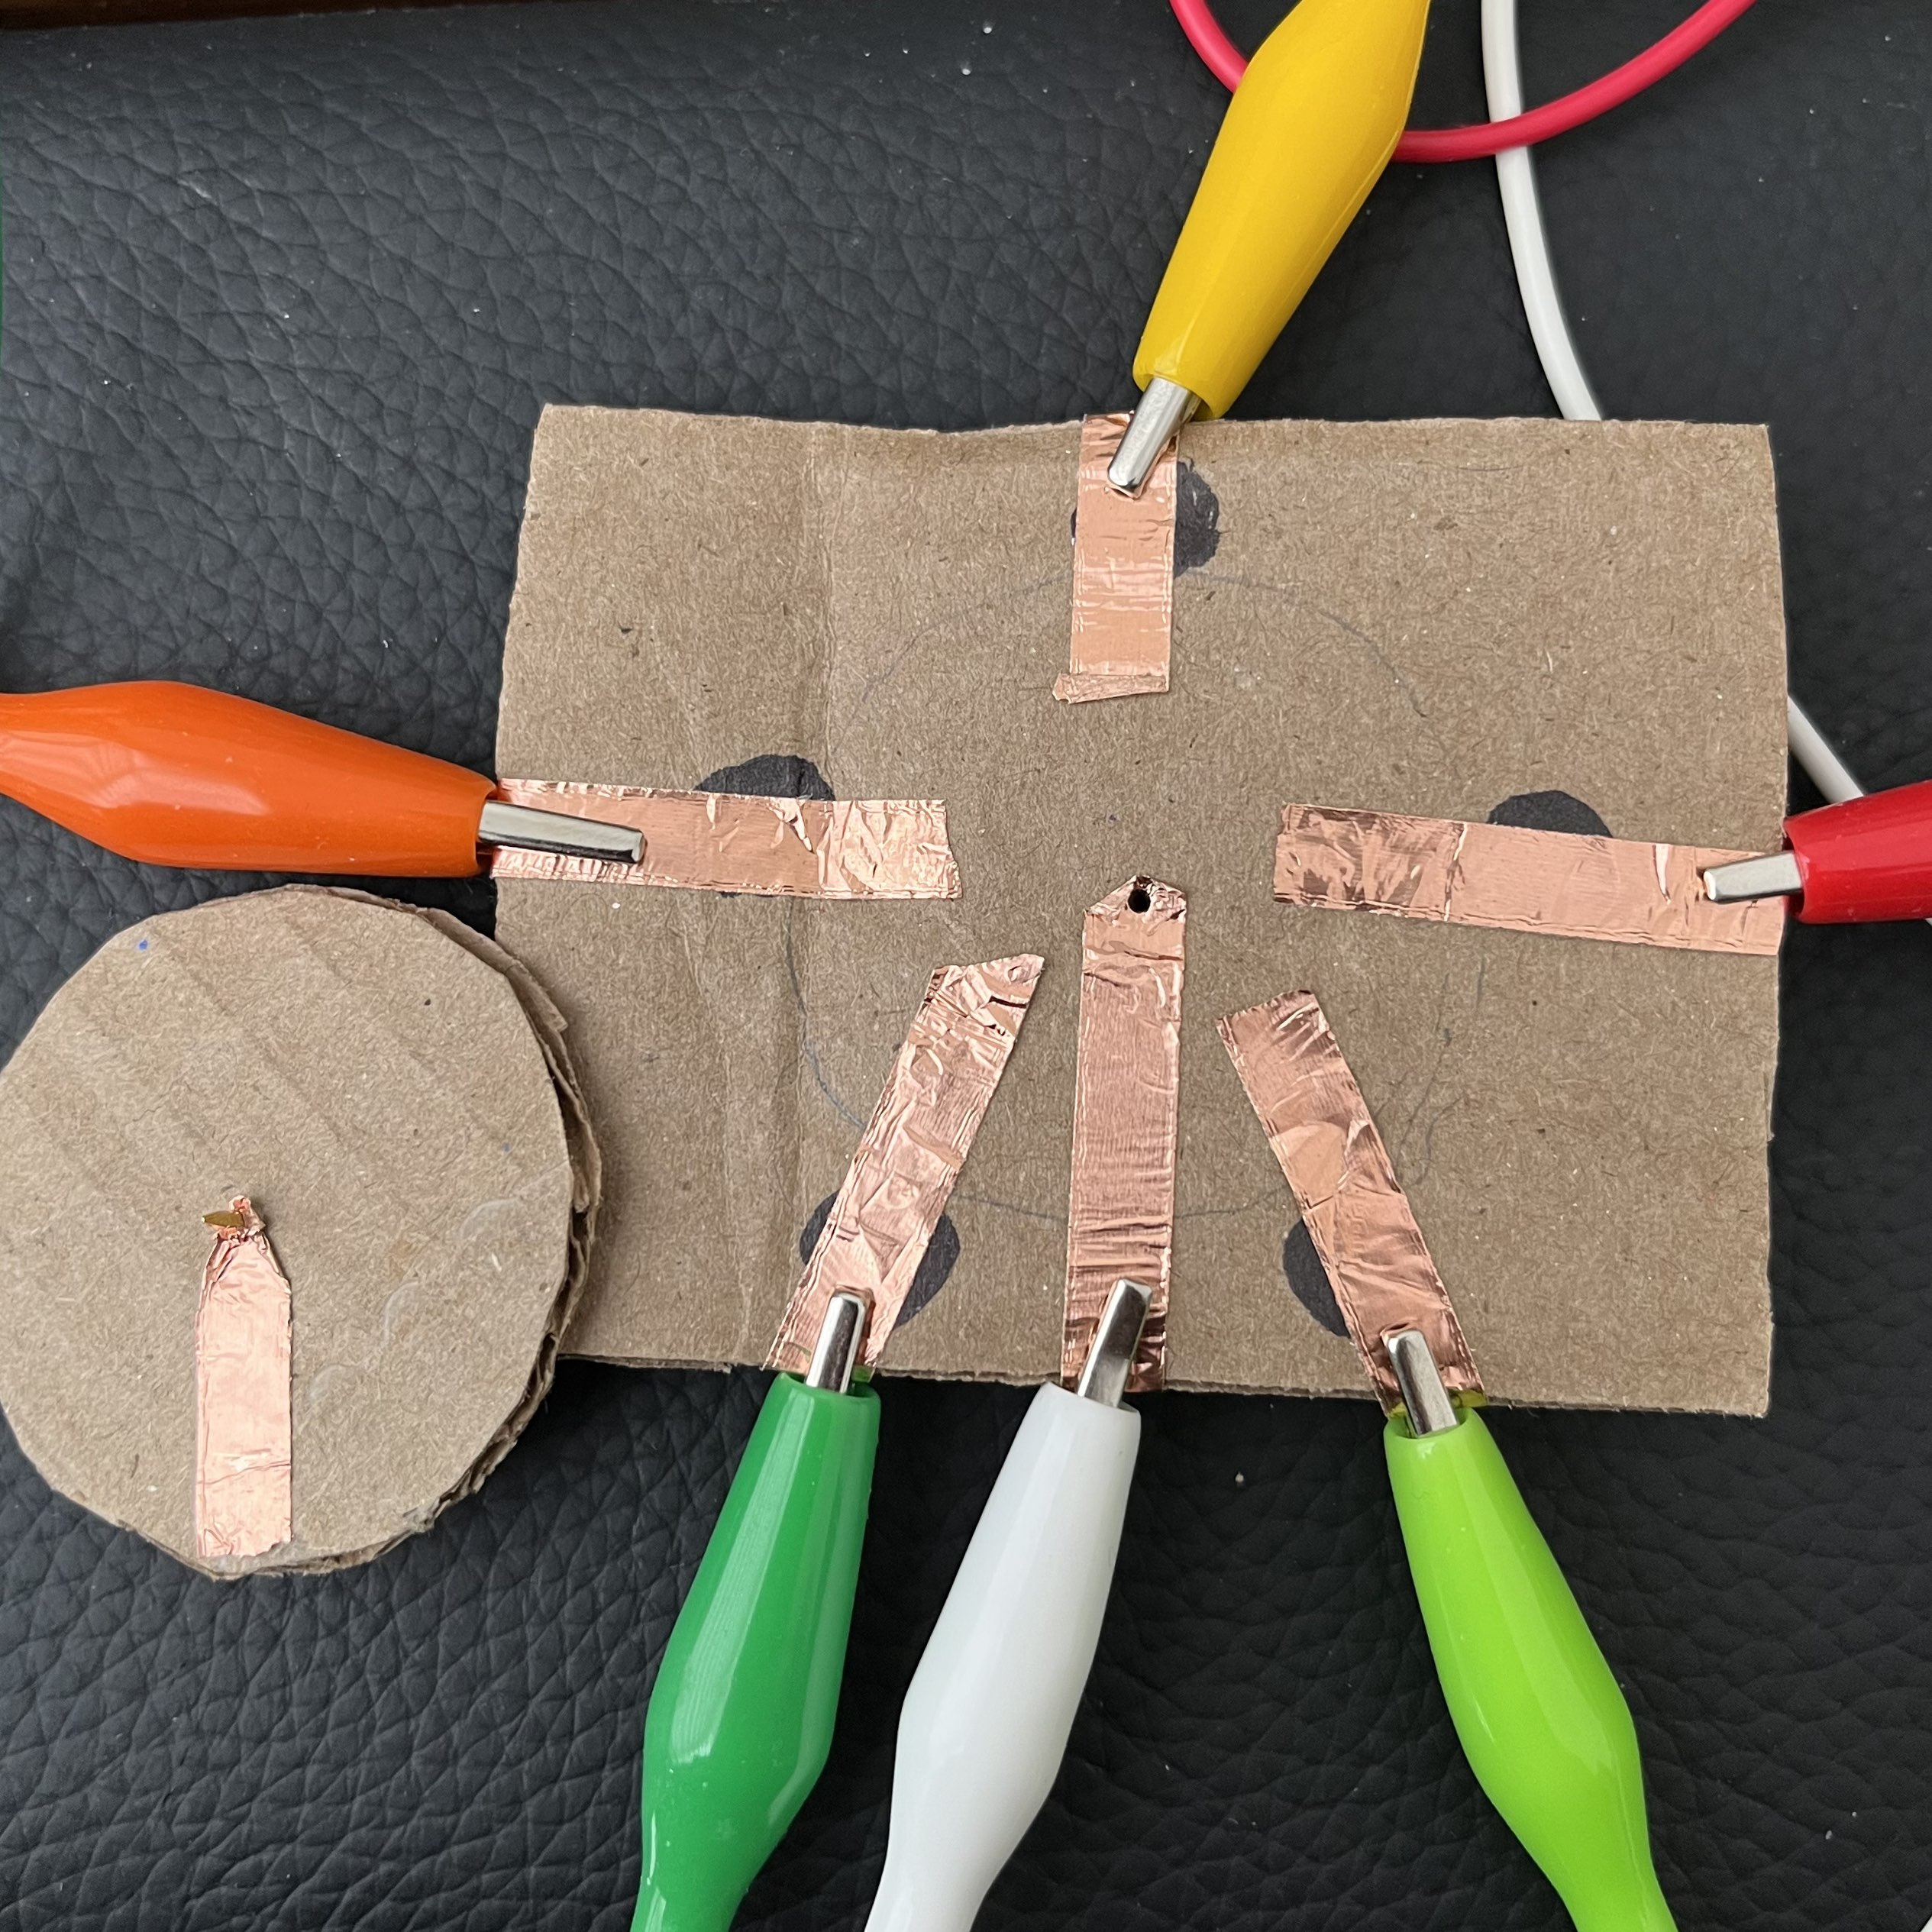
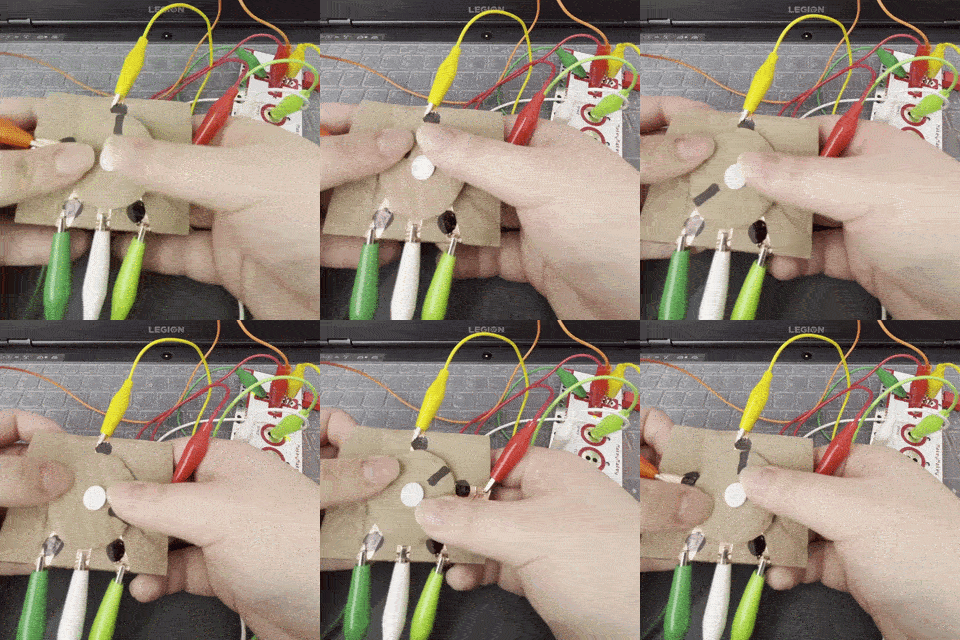
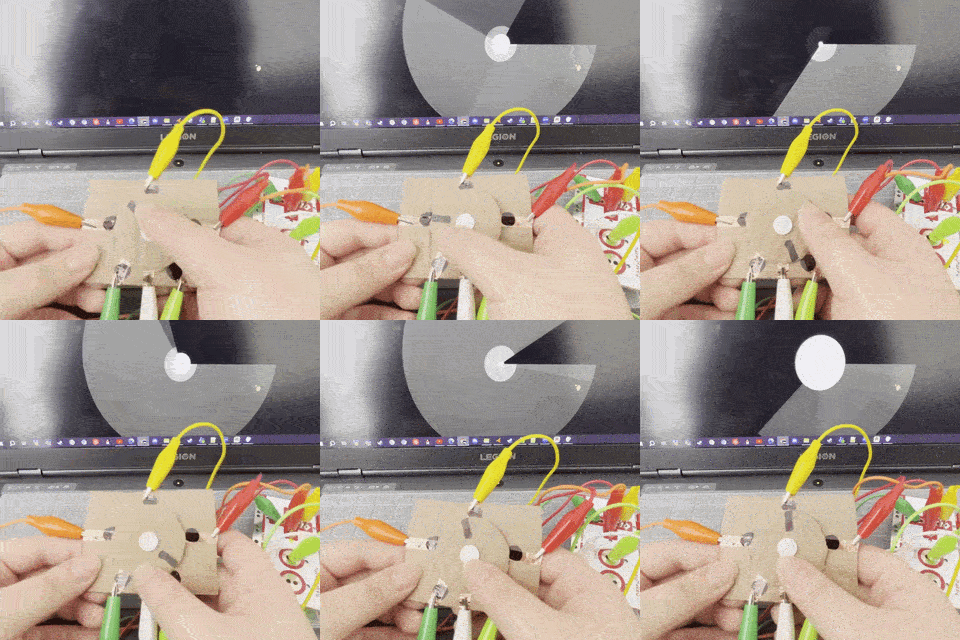
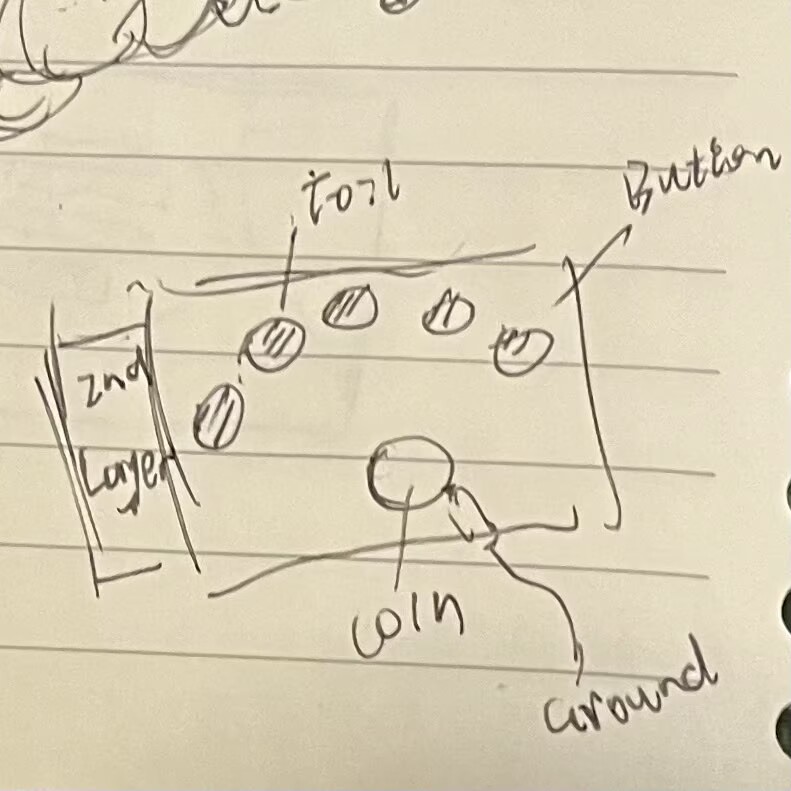
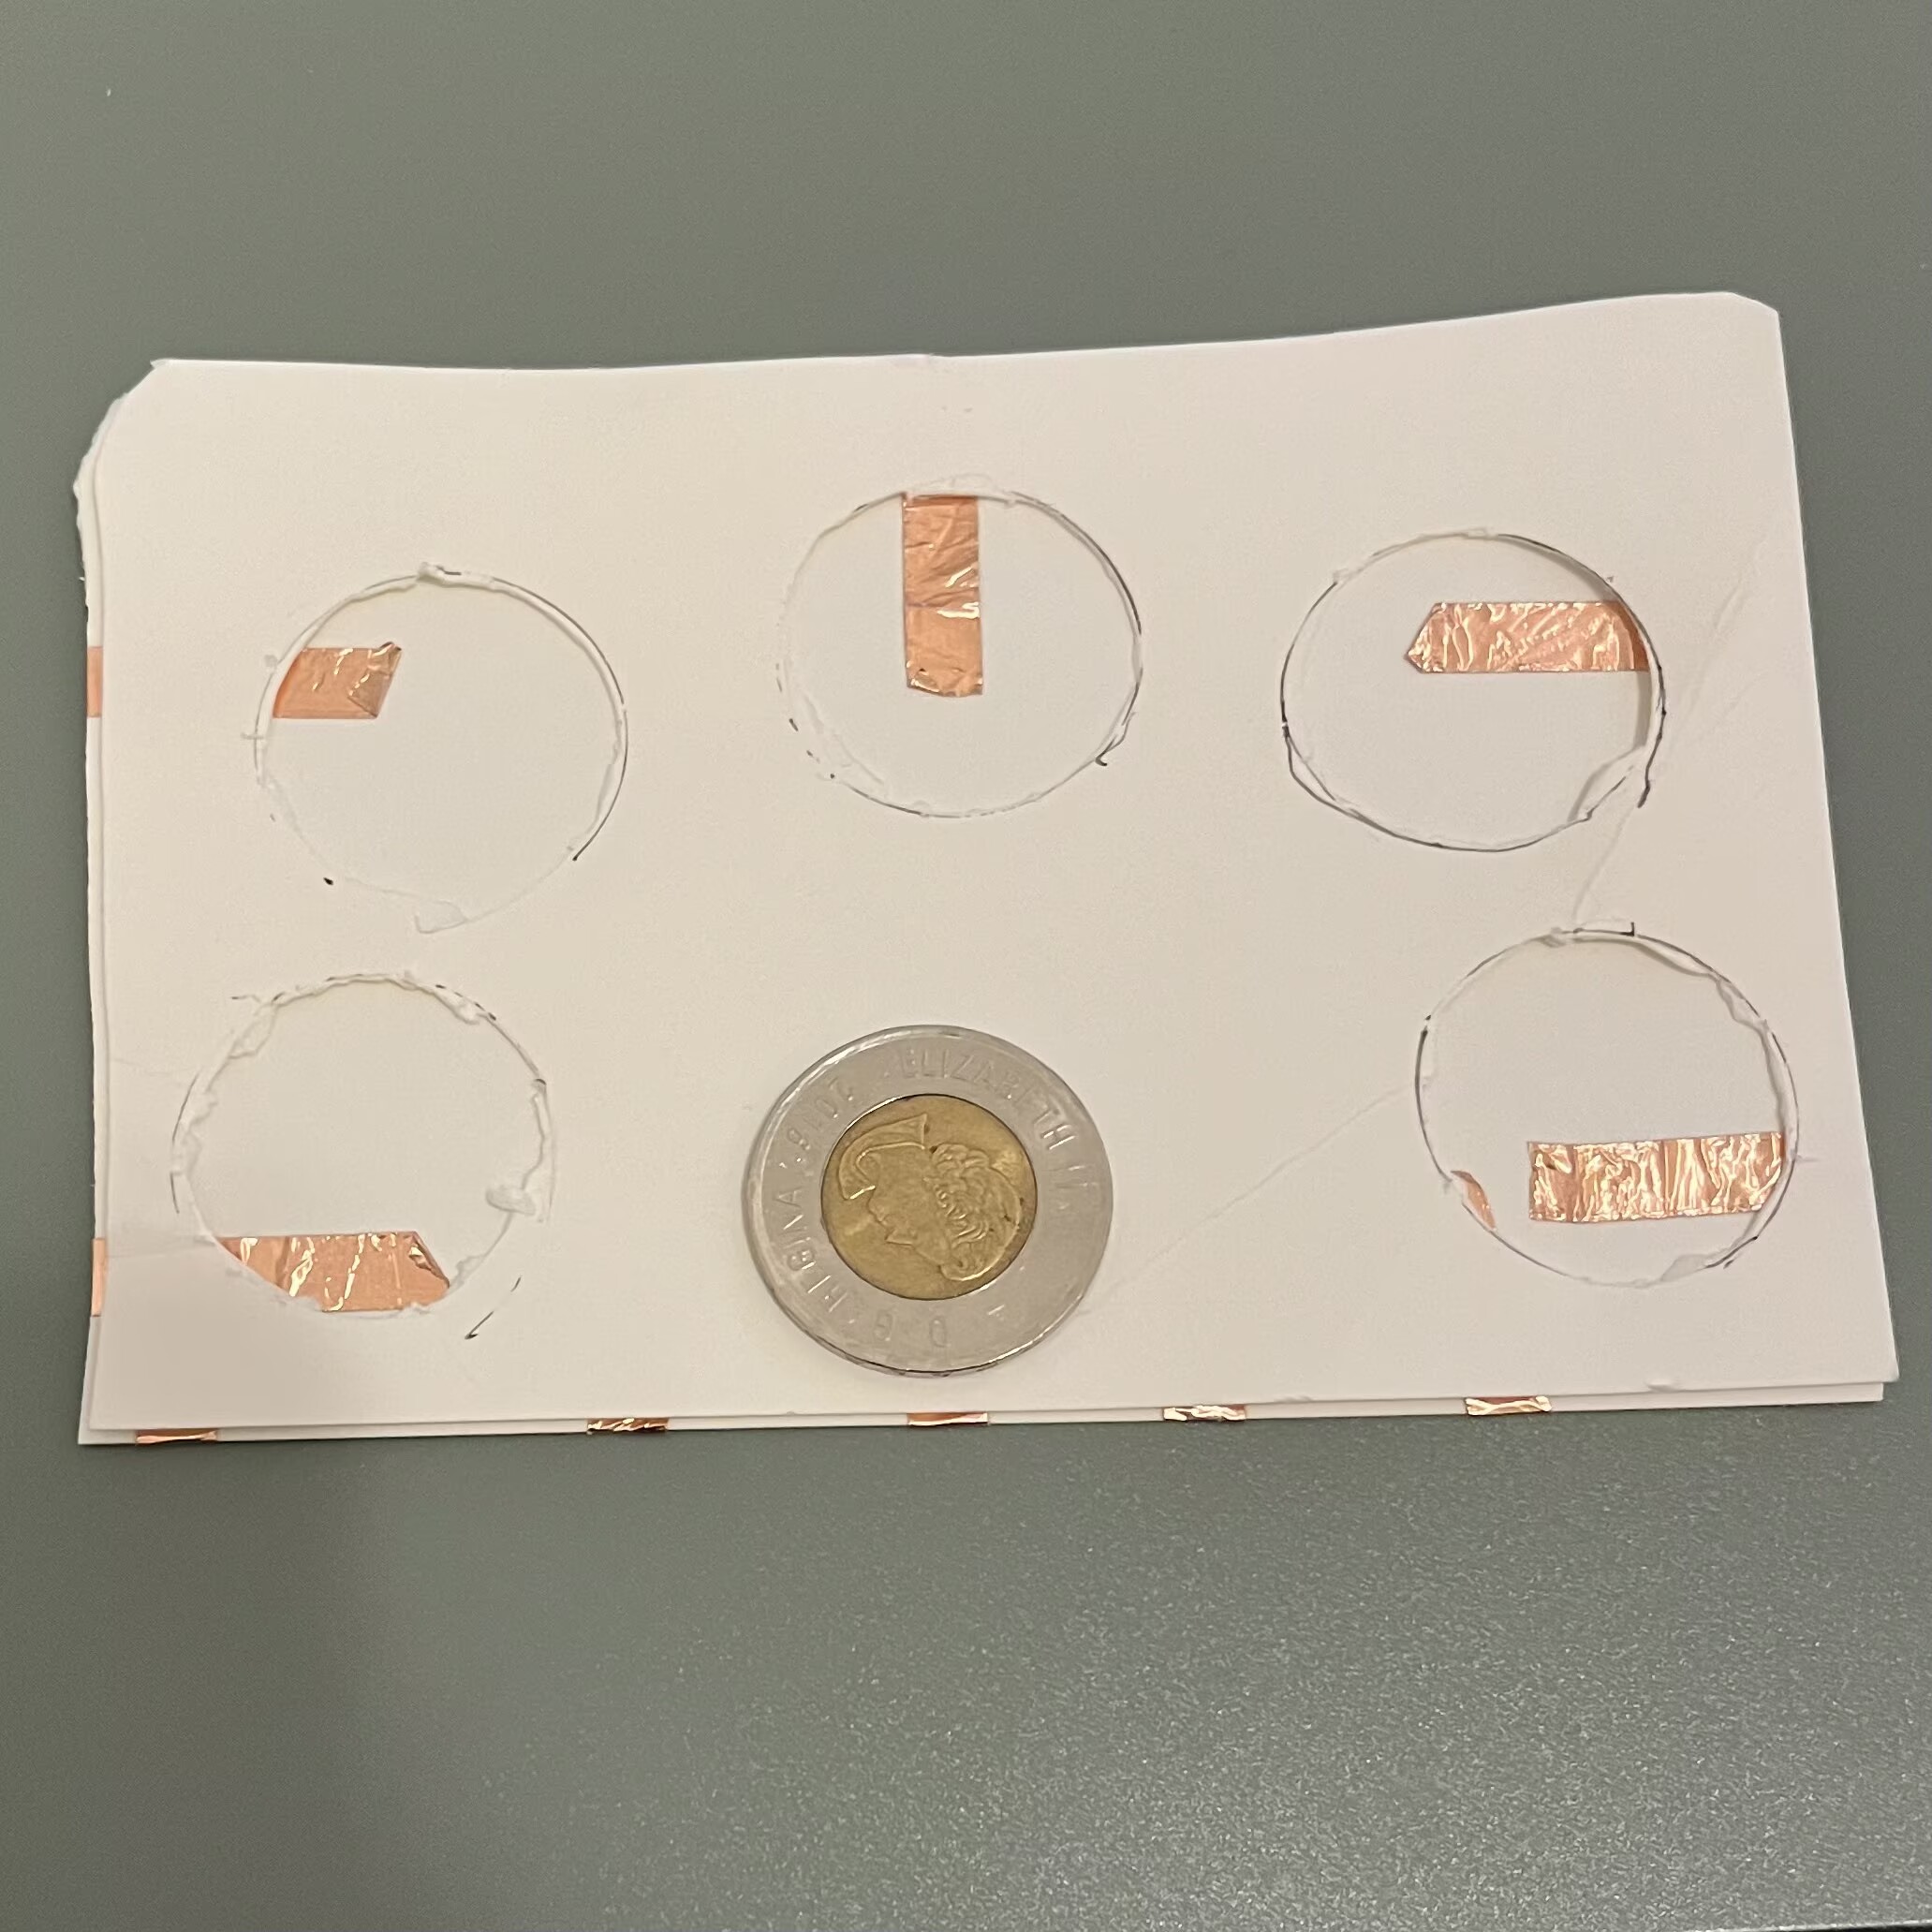
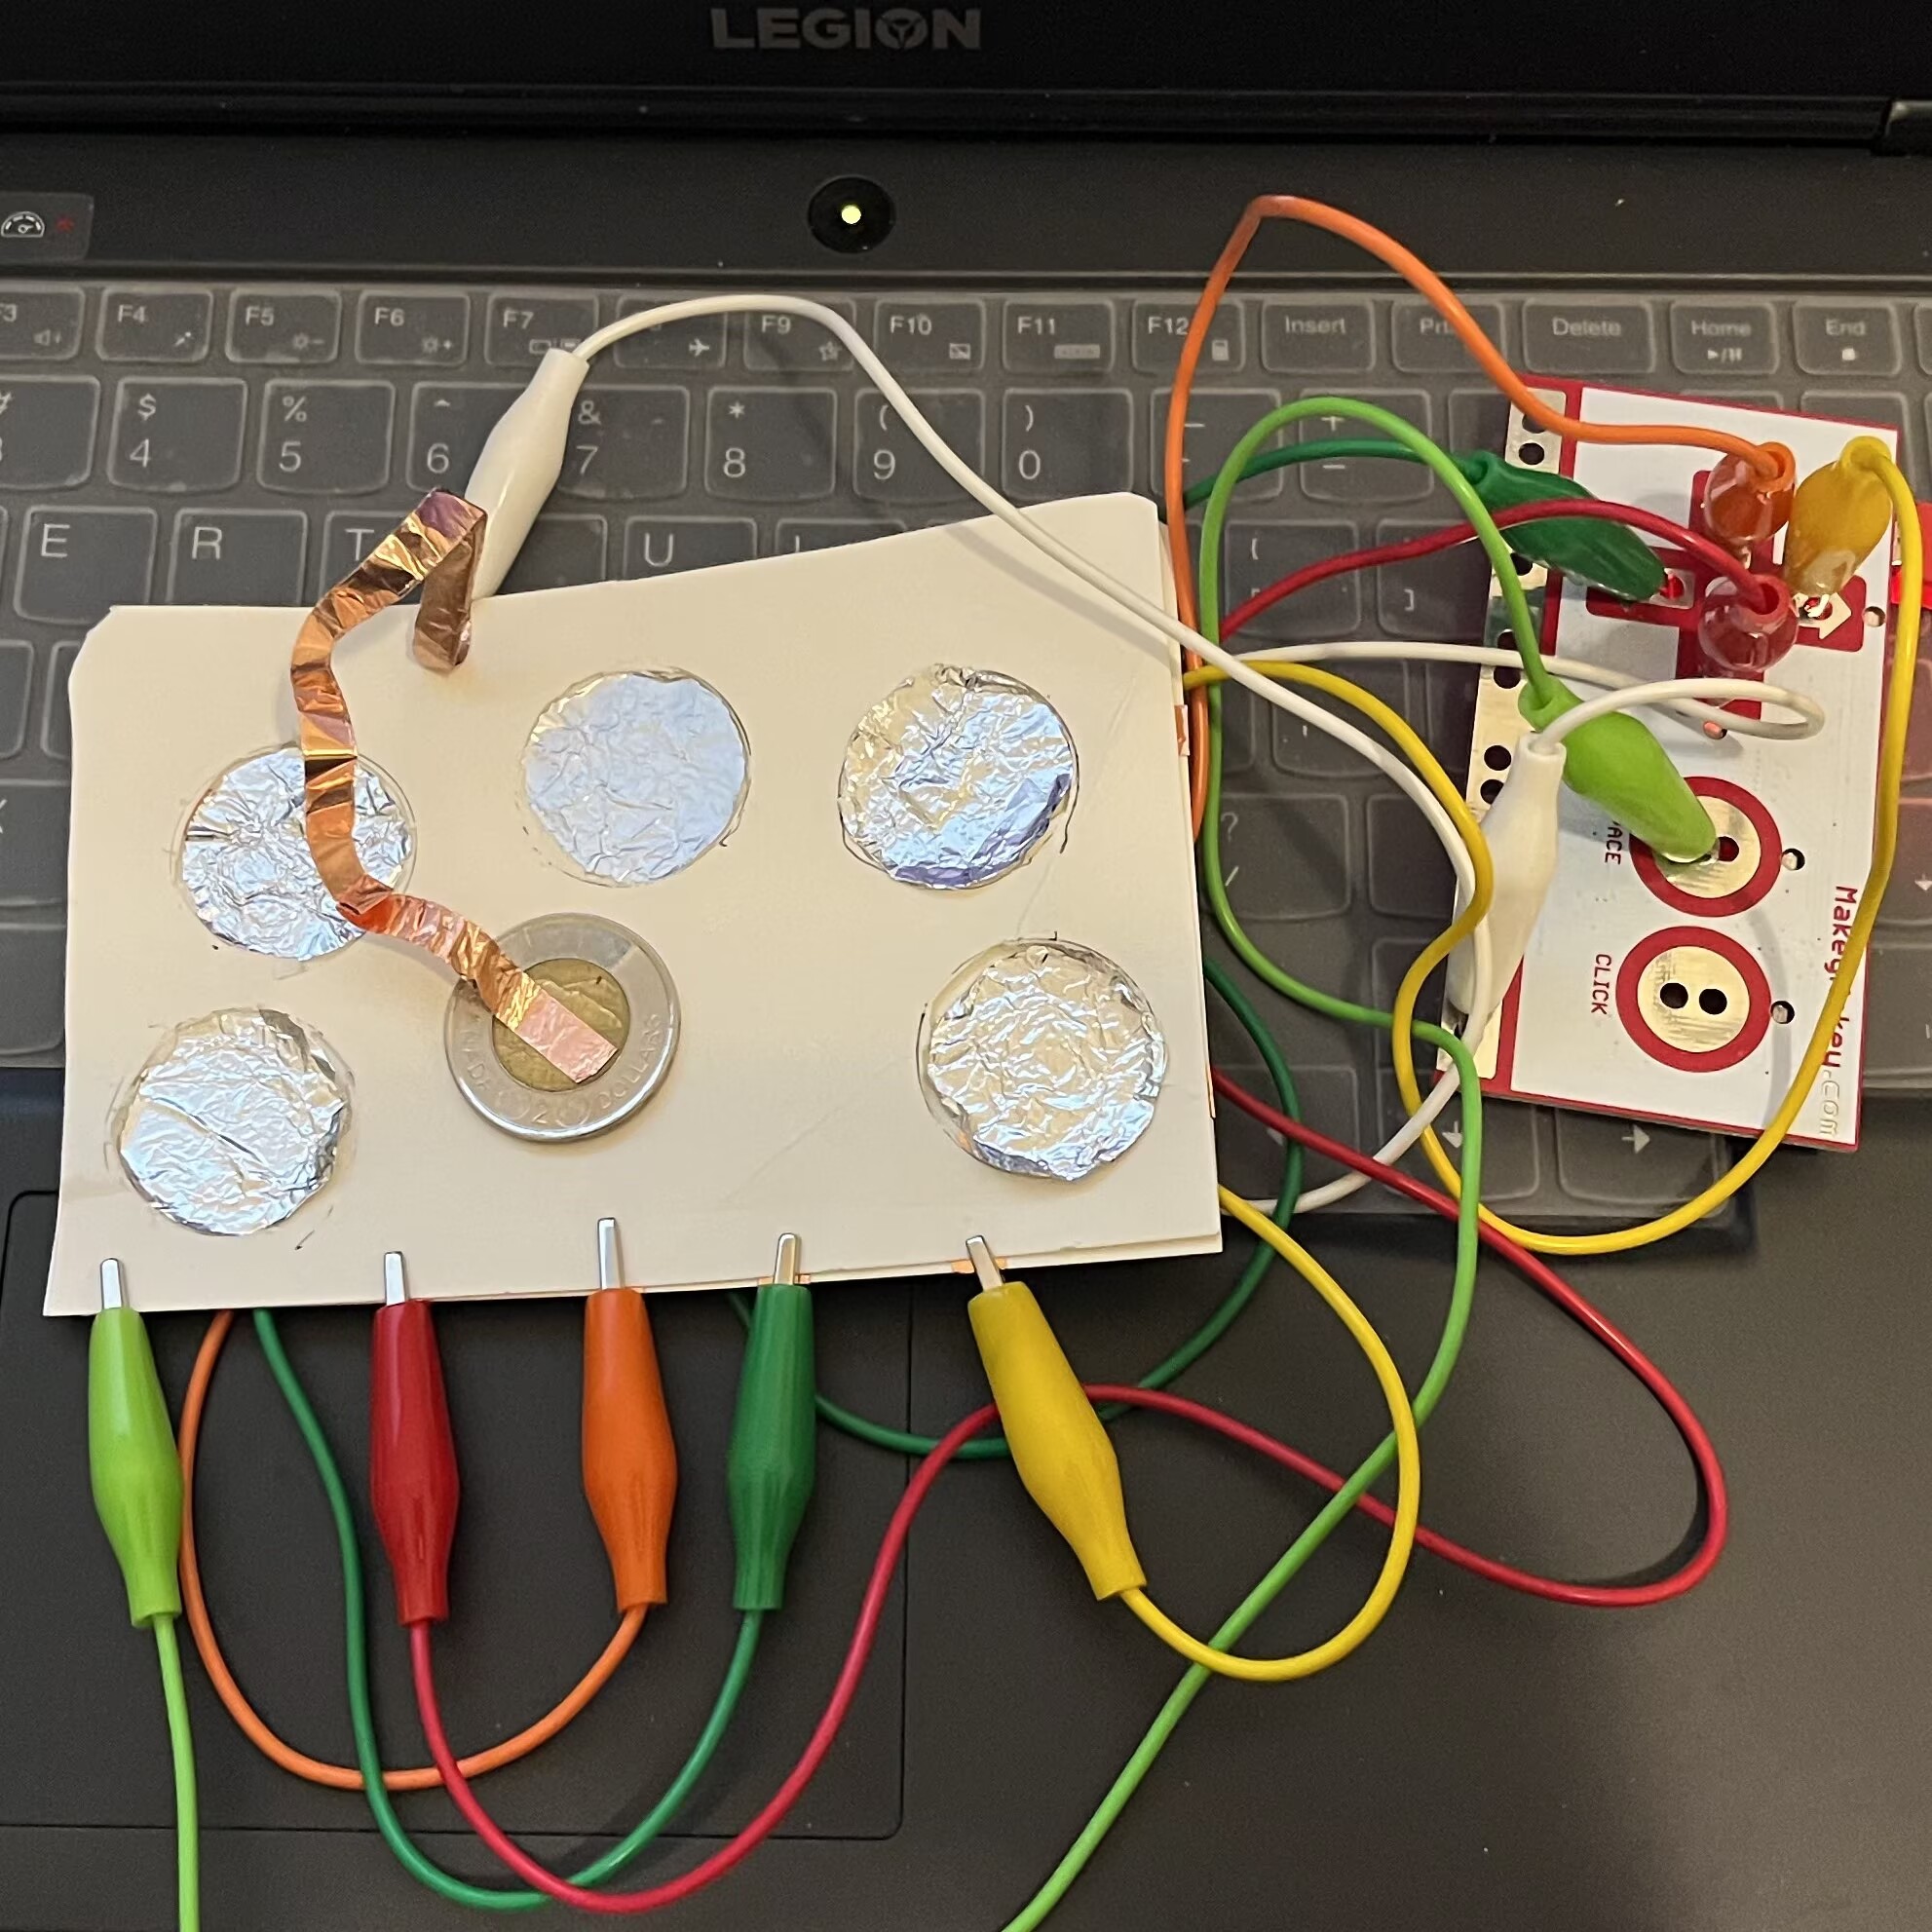
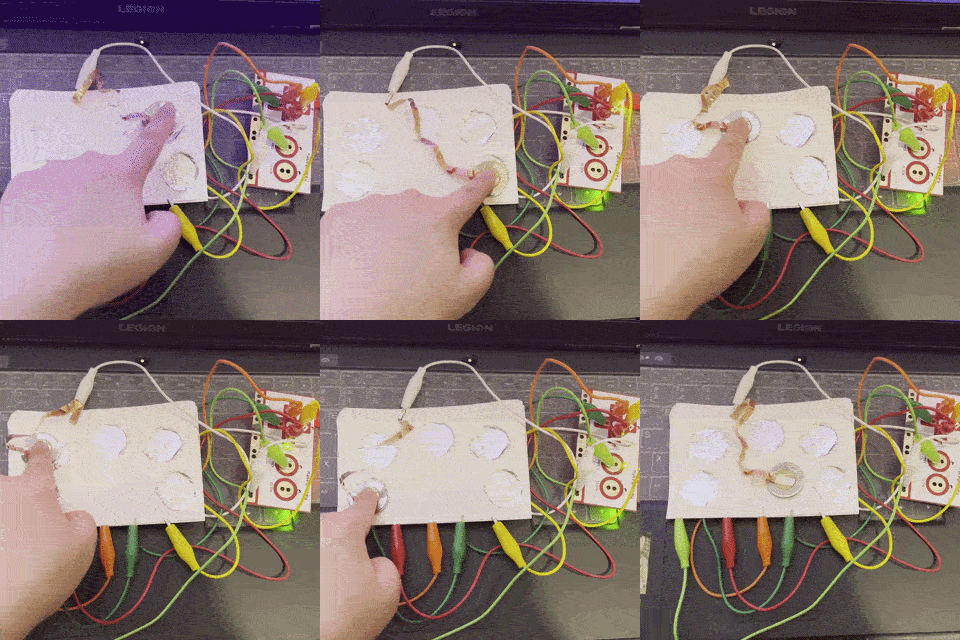
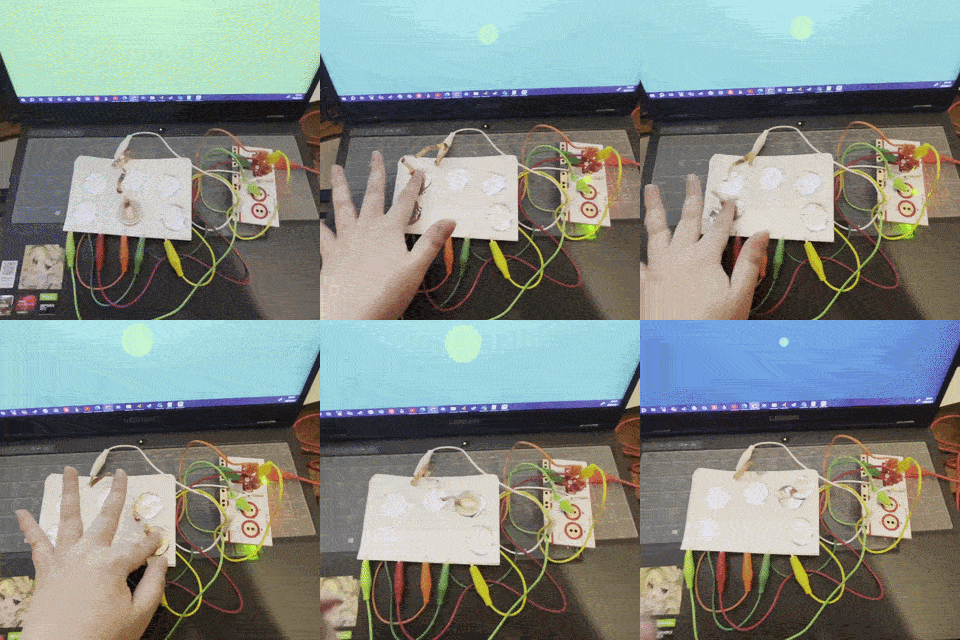
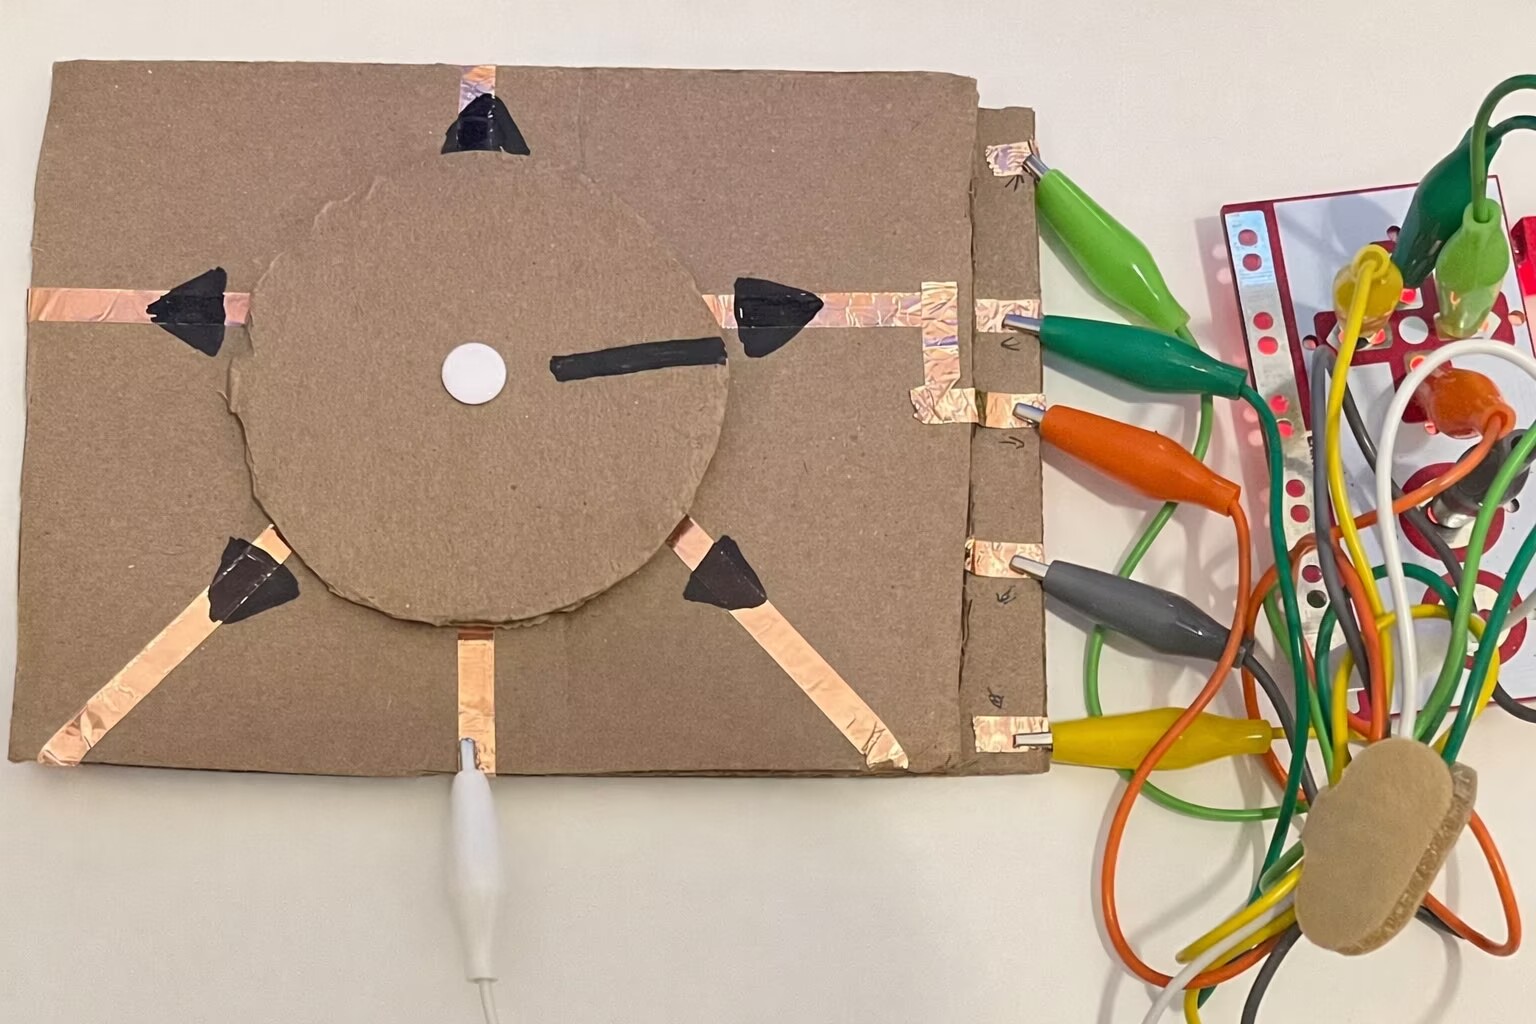
Testing the Makey Makey with this simple circuit using copper tape I used a pencil sketch of a piano keyboard for five buttons. I explored the use of different conductive materials. I placed the ground under the keyboard so that a circuit is completed when both a key and the ground are pressed. Testing with Makey Makey Testing P5 input I created next circuit as a control panel, where each button corresponds to the same key on the Makey Makey. The middle button is 'space' for reset Playing with P5 Playing with P5 P5 output I used the glove from the previous module for this circuit. Each finger has copper tape, with the ground on the thumb. A connection is created when two fingers touch each other. Another angle of the circuit P5 output P5 output Playing with P5 I sketched a fourth circuit that uses a knob switch for interaction. Each dot on the board is connected to a key on the Makey Makey. The dial is connected to the ground, and rotating it triggers different key inputs. Making process, I inserted a pin into the knob to allow it to rotate. I also added a marker on the knob to indicate where the connection is triggered. This is how it looks like under the knob. The copper tape is attached to the metal part of the pin, and the pin pierces into the copper tape that connects to the ground. Completed circuit Connecting to Makey Makey Testing Makey Makey input Playing with P5 The sketch of the fifth circuit. For this one, I use coin to be the conductive material. Making process. Completed circuit that connects to Makey Makey Testing Maky Maky input Playing with p5

Project 3


Final Project 3 Design

This is the final design. The design has a five-direction interaction controlled by a dial, where rotating the dial directs a moving object while generating game-like sounds and visual feedback.
test2Lorem ipsum dolor sit amet, consectetur adipiscing elit
×

Powered by w3.css